
Has it really been 9 posts about the pondcam? Oh… that is bad. And they are long too (At least that is what I am hearing. My response is always, “They are mostly pictures!”).
Post 8 was all yesterday and it is still fresh in my mind. It felt like a total bust but I did so much work to get around things I didn’t feel that let down. Here are some very important takeaways from Post 8:
1) Waterproofing did work. I don’t know why it worked, but it seems to be fine. I sunk that sucker a whole bunch of times during testing and no water got in the case. We may actually be in really good shape on the part I thought was going to be the hardest.
2) This is really important. I am 99% sure we learned what our whiteout issues were in post 2. It was a setting on the camera and has nothing to do with power. That tells me all sorts of things. One of the most important is our solar panels and batteries are pretty good for this application. I don’t remember if I wrote about it, but when I didn’t see a picture when we were testing the camera outside, I was convinced that the blank video we were seeing was because we weren’t getting enough power, so I became obsessed with turning off the light. I learned something wrong more than a week ago and it followed me every step of the way until Paul was here. In medicine this is called “Diagnosis Momentum“. Diagnosis Momentum is when a doctor makes a diagnosis and states in on a patients chart (In our case the patient is the camera, and the chart is blog post 2) then forever, further treatments even from other doctors are pigeonholed into treating the wrong illness. In medicine people die and it is a big problem. In my world, it just means a camera shows white instead of a picture. I am not sure what doctors say when they are in this situation, but a very common thing to do in IT is pull a colleague over and say, “I need a second pair of eyes”. Paul broke the code on this really quickly. He didn’t fall for my previous diagnoses of the “no picture” issue, I was happy he didn’t.
3) Aside from the “whiteout” issue I just described we had all sorts of connectivity issues. Paul didn’t like the little access point we were using. He took one look at it and was like “what?!? is that what you are using?”. I really thought I did enough testing in post 1 to prove that this was working correctly. I did find that broken connector from the camera, but we still need more gain. Sadly I have to do more wireless testing before sinking it again.
4) Because of what I just learned about our connectivity. I really beefed things up; I put an extension on our camera to lift up the antenna. I gave our access point a better antenna too. Hopefully those things should help a lot.
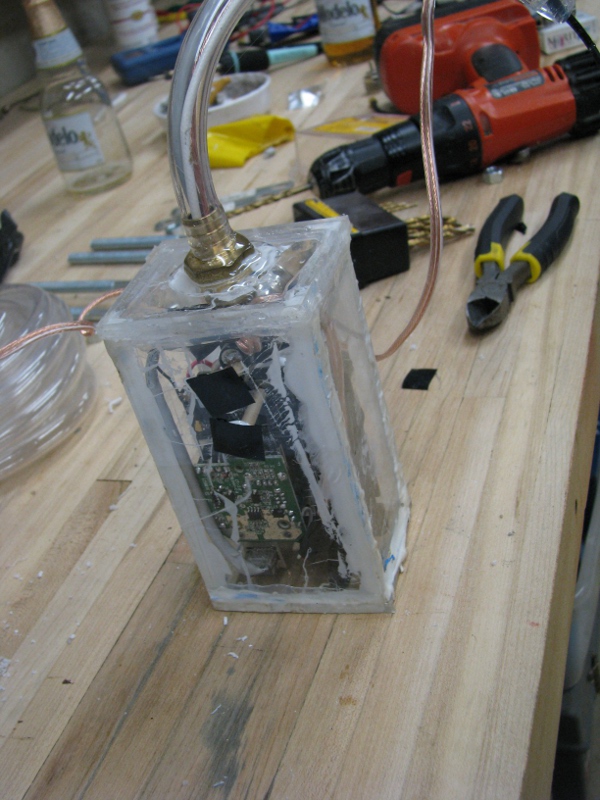
Now that we covered the lessons learned from our last effort and how we overcame them lets move on to something more interesting. I don’t like the way the light or the camera sits in our case. How do I fix that? Here is a picture to give you an idea.
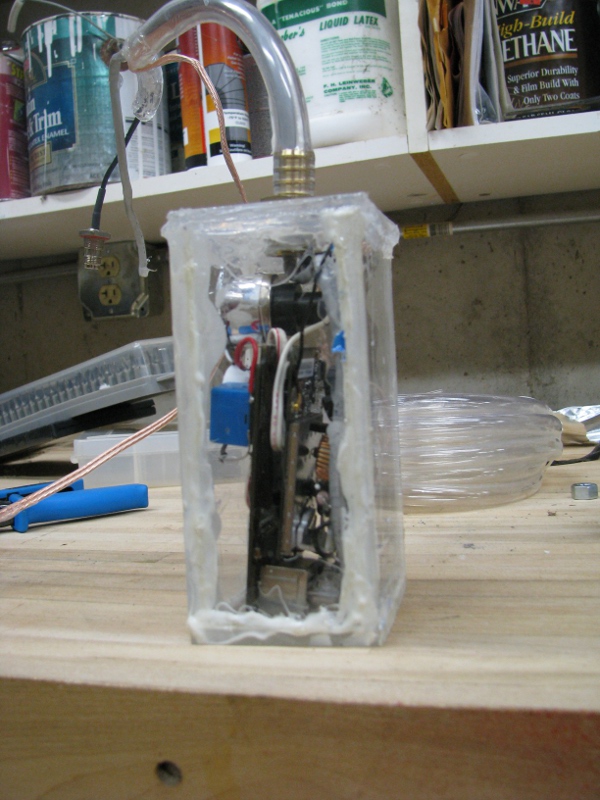
See how the camera is crooked. That makes the lens angle up. I don’t want that. Another thing, you can’t see is the light broke free of its glue and is sitting back a bit from the inside front of the case. To fix this I am going to drill three holes into this case. I know what you are thinking, “What did you just say?!!??! You can’t drill into that case it is water proof, just leave it and move on!!!! You stupid jerk, just don’t do it”. Why do I know you are thinking that? Because I thought the exact same thing after I drilled the last hole. I thought, “Oh crap. I really screwed this case up now. There are three holes in it and the idea wont work, it is just stupid. You should have left it alone”. Well too bad so sad, I didn’t leave it alone so I was forced to move forward with my plan. Here it the plan.
Note: When I drilled the last hole I put too much pressure down and the drill bit in the front went down a little hard against the camera board. I don’t know if it is broke. It looks fine, but you never know for sure until you test. If you see me really excited about the next time we turn the camera on it may just be because it is simply still working.
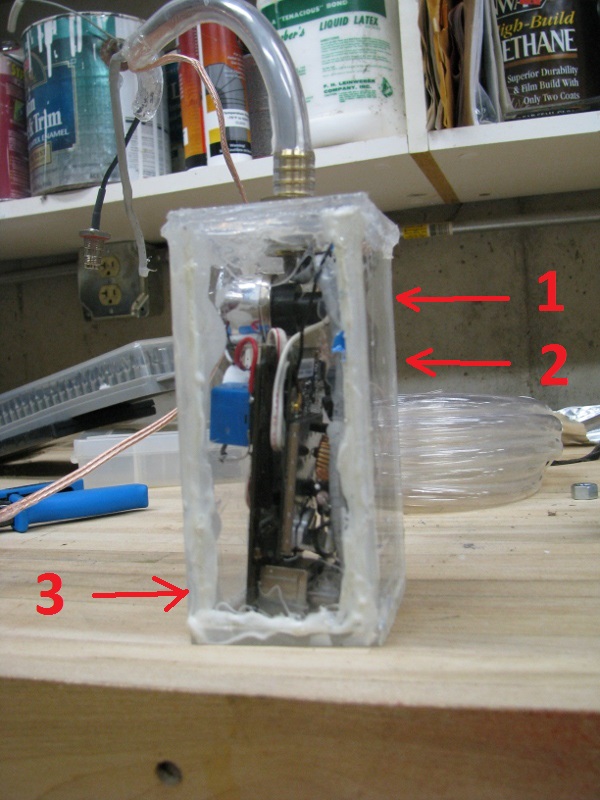
I am going to drill the following three holes. Each hole we be as close as possible to the exact thickness of the wooden stick we bought at the hardware store yesterday. I am going to cut a piece of that stick and push it through to make the camera and light move in the direction I want. Then I am going to epoxy over the hole, let it cure, then put a coat of Goop around the epoxy for good measure.
1) In the back of the camera I am going to drill a hole and push the light forward so it is against the case.
2) I will then drill another hole right beneath it to push the camera board forward so the lens is against the glass.
3) I will drill another hole in the bottom front of the camera to push the bottom of the camera board back so it sits straight.
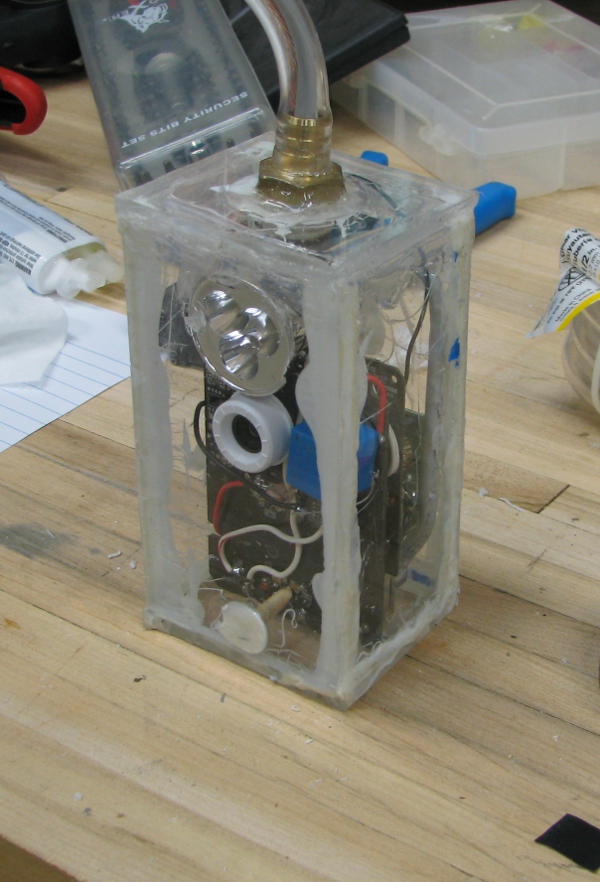
Here is a picture after all three holes were drilled and our pegs put into place to make the camera and light be were we want them.
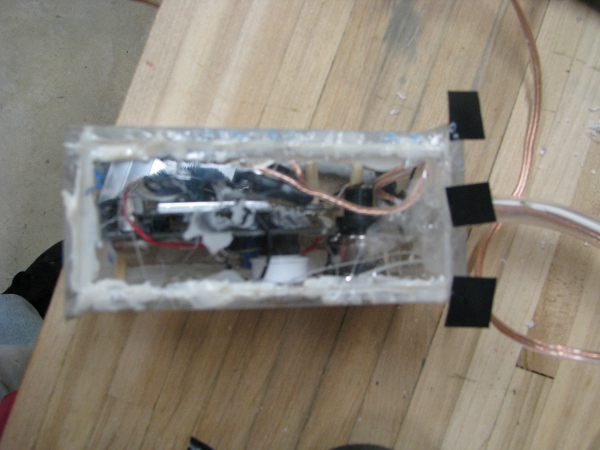
If you look carefully you can see them. The camera and light are in place. The black tape is for putting over the epoxy to hold it a little and make sure it doesn’t leak while it cures.
Here is a better shot as the one above isn’t as clear.
While I am waiting for it to cure, I decide to put some extra Goop on our top. Only because it is easy and one less place for water to get in.
That was were I left it all last night and it dried and looked really solid. When I woke up this morning my 6 year old handed me this and said, “Dad, do you know what this is a picture of?”.
That was great. Another interesting thing happened too. I was at my brother-in-law’s house and he said you need to figure out how to stick an LED on one of those bugs and make it light up. Needless to say I have been trying to think of a good way to do that. That is a really good idea. I will post the results if I can figure out a good way to do it.
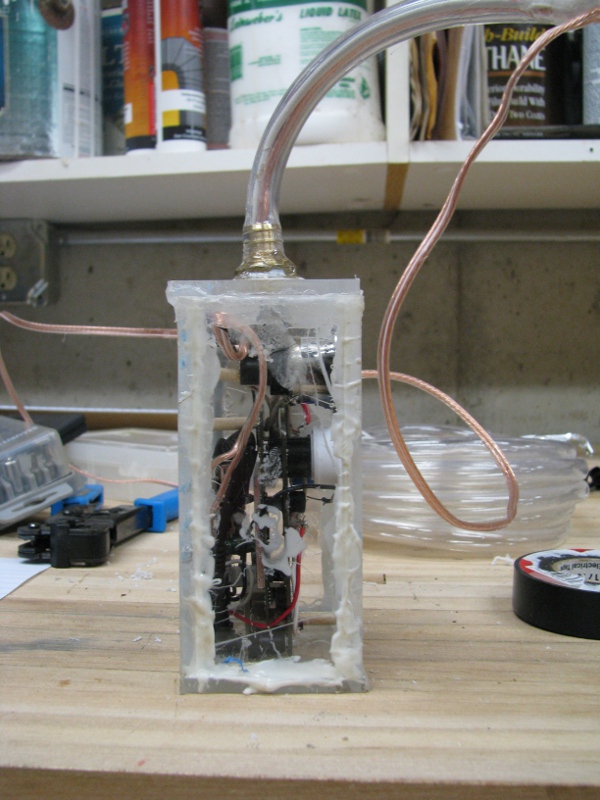
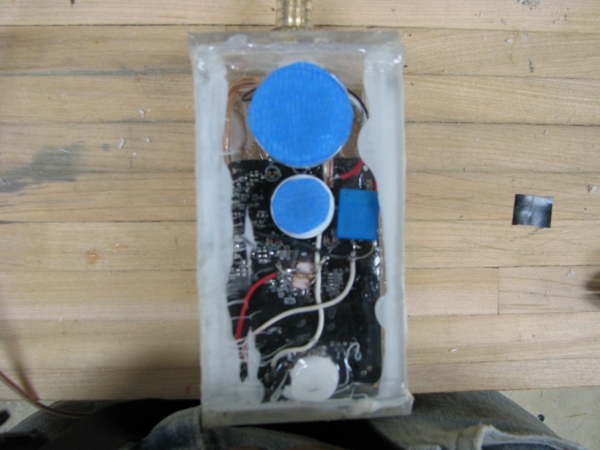
Here is a picture of our camera the way it looked when I got back from all of the fun family stuff today.
Everything is straight and flush in the case. I can’t think of anything else to do. So let’s put some lipstick on this pig.
I first mask off the two things we need to actually “see” out of that case. The camera lens and the light.
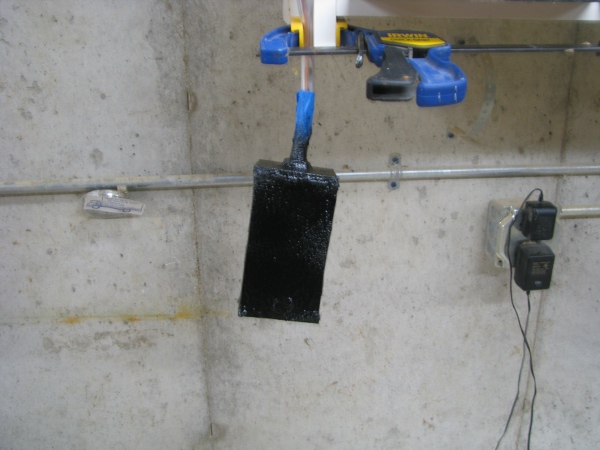
Then I take it out to the garage and spray it down with the black rubberized coating. Here is what it looks like drying in the shop.
I am too tired to do anything more today, so I will stop.
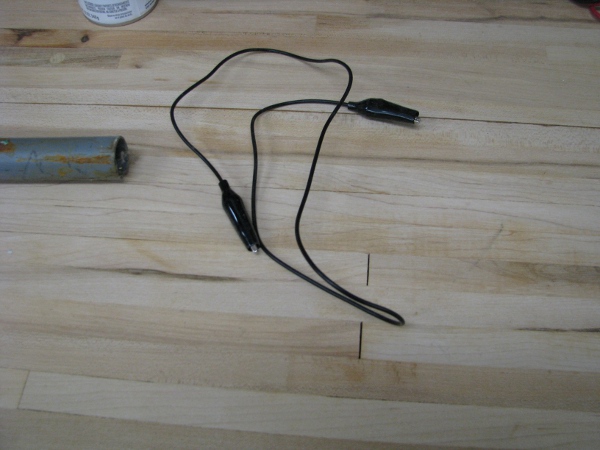
One last thing… On an only slightly related note. If you remember from several posts ago I lost my black jumper and blamed it on my kids. Nope… It wasn’t them. I found it in my wireless bin. Hooray!
I love cleaning up loose ends. Don’t you?

Pingback: My Silly Pondcam – Post 8 | Joe's Lab