It has been a long fun journey putting this printer together and getting it printing. Where did we leave off from last post? Oh yeah… That is right… We need to get the girls plugged back into this. But before we do that my buddy Charlie has been giving me tips that he uses on his printer to get things running really smoothly and even improve the quality of his prints. Let’s take a few minutes to apply what I call “Charlie’s Tweaks” to our print environment.
First of all, I recall Charlie sending me a PDF with some settings. I am going to look at that first. It is called “My Settings” and it is all his finely tuned adjustments. I open that PDF up and apply all his settings to my printer.
The next thing Charlie said is that he thinks my heat bed is just a hair too low. I suspected something like this when he told me a week or so ago that his leveling process takes 25 minutes… Mine only takes about 10. Here is what he said:
Here is my thought of why the prints look rough. I can clearly see the rows, even though you can’t get rid of them totally, you can reduce them to see a smoother surface. try raising the bed just a hair. each row should be pressed into the previous row. here is a cross cut of what i mean. the line is the bed, and the left circles are how I think the filament is being laid down. the right side shows the filament being pressed into the previous layer.
FYI, If I watch my printer in action, I cannot see the filament being laid onto the previous layer, it looks like it’s just riding on the previous layer.
And he sent this image to help me understand the physics behind what is going on with my print resolution.

Like a good student I am going to repeat it back in my own words. I need to lift that heat bed up to as close as possible to the print head. What that will do is allow layer after layer to be more compacted against each other making the print look more smooth. In another email he said my nozzle temp should be 215… I am at 190. So I set that too.
Lastly, the temps I print pla at…bed … 70 degrees, Nozzle…215. I do not bother with the preheats, I just start the print job and run.
He said it takes him 25 minutes to level the print bed and it takes me 10… I am doing something wrong. He sent me a file to print out the first layer so he can very precisely adjust the height of the headtbed.
Now I tried using paper to adjust the height of that bed, but now that I realize how absolutely critical that part is… I am going to use one of these!
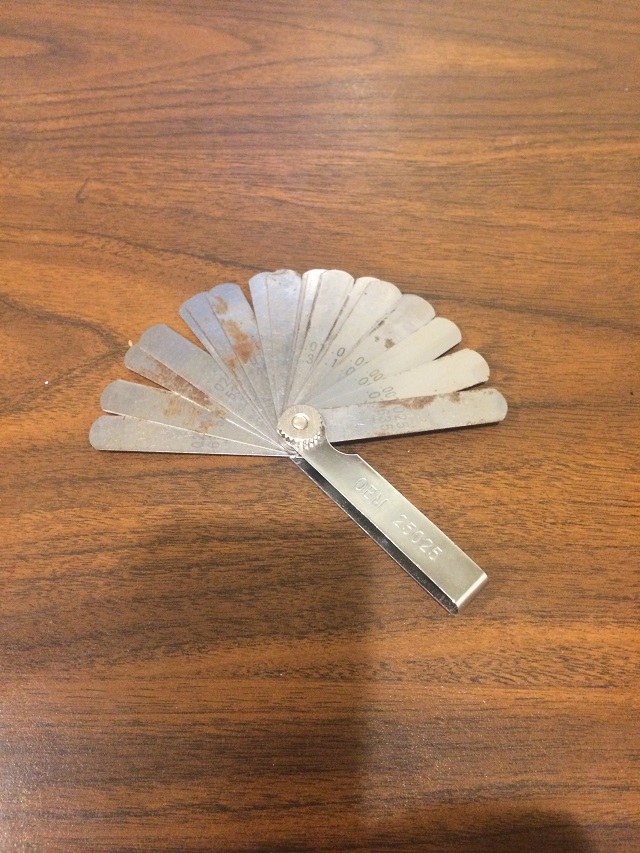
I bought that last summer when a rocker arm on one of my lawnmower engine cylinders popped off the cam shaft. I will now use it for this! Oh… And that is called a “feeler gauge”. It is designed for very accurately measuring distances between two things… thinks like rocker arms and cam shafts and also 3D printer extruders and heat beds.
OK… Well I check it and I can’t even slide the thinnest blade between the glass and the print head. I suspect something is up… There is NO WAY I could have been that precise. I try the other paper I used that used to fit… Sure enough it doesn’t fit. I try to clean away any material on the end of the head and it still doesn’t fit. So I have to call my wife.
I know what you are thinking, your are thinking, “Why does Joe have to call his wife, she doesn’t care about his projects, even though she is super smart and pretty.” You are right to think that, but I do need my wife’s help because she knows where the acetone is… I need that to clean off that print nozzle. I call her up and when I said “acetone” she said, “WHAT?” then I said “Nail Polish Remover” and she told me where to look.
Acetone and myself got very far back. I have 4 sisters. One of them (or maybe it was more than one) destroyed a very nice pool table for kids my God Father got me for Christmas one year. As a result I am not very good at any sport that requires hitting an object with any other object that is not actually flat. Things like pool and golf I am not good at. Ping pong I am fine. I blame by sisters and I blame acetone.
I clean off the head with nail polish remover and try again. Neither the paper or the feeler gauge can get under it. I figure I must have bumped something and then just re-level the whole thing at .0015 inches. That is 15 thousands of an inch. The thinnest gauge on the tool.
I must say using the feeler gauge instead of the paper is way easier. I have more confidence in my leveling job. I don’t know however if that is what people use. Maybe 15 thousandths of an inch is too far away, maybe it is too close. Let’s find out. Charlie sent me a printer file that he uses to test his leveling job. He said this:
If I see any of the little squares not the right shape or distorted or missing(bed too close). then i adjust the bed, scrape off the test layer, and do it again. If it prints out perfect, bed level.
It works for me.
Let’s do this all Charlie’s way (He didn’t tell me to use a feeler gauge, that is on me if this doesn’t work out).
No video this time, that is for later. I am just going to print that first layer and take a picture.
Here is a summary of what has changed since last print:
- Heater Bed Heat bumped up from 60 degrees Celsius to 70.
- Extruder Heat bumped up from 190 degrees Celsius to 215.
- Adjusted the bed to .0015 inches (This was my idea and may be a mistake).
I press print and will stop it after the first layer.
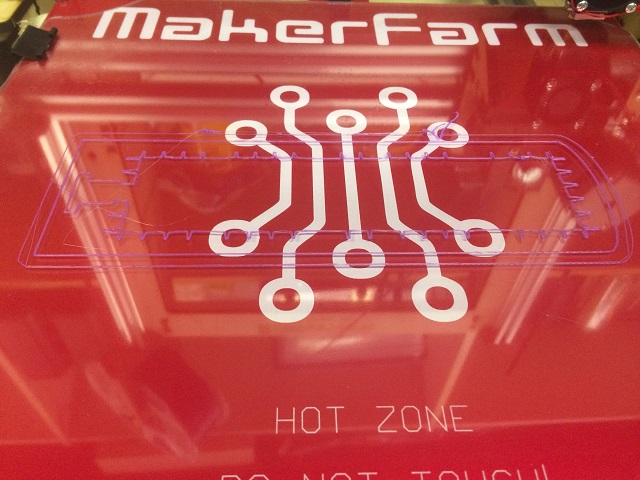
Now i know that is not right, that first layer is supposed to be closer than that. I use the feeler gauge again, but instead of having it be able to slide beneath the print head and glass where I can barely feel friction, I redo it the way I did it with paper. Where I get it underneath the print head first and then feel a little drag coming out.
I didn’t grab a picture that time because there were little imperfections and was going to read up on it an do it one more time. Since reading up on it I decided it will be good enough to go as is to see if the other settings help my print quality.
So I print up another copy of the smallest thing so far. That first print… The Little Gear. Here it is in super fast motion. This video is only 3 minutes.
While the little gear was printing, I had the girls come downstairs and asked them, before seeing the printer do its thing and asked them, “What do you think it does?”. Here is what they said. It is only 1 minute.
After that I took them into my office and I told them I wanted to show them this website that had Valentine stuff on it. I said we should pick something. I took them to a website called Thingiverse. It is where people share 3D print files to be printed on a 3D printer.
They both went bananas when they saw this one:

I told them, “Yeah… We will get that”. And I sent them upstairs… They were still clueless and didn’t make the connection that this had anything to do with the printer.
The thing I have to figure out now is how am I going to get a light for that thing…. I have an idea…. Something they can build themselves.
OK… To win over my girls, I have to print one of those to make sure it turns out OK. I need to do this without them. It will take a long time, probably 4 hours for each side I am guessing.
Meanwhile, the little gear finishes and I set them up side by side to see if I can see any difference. Here is a real close up on them both. The one on the right is the new one.
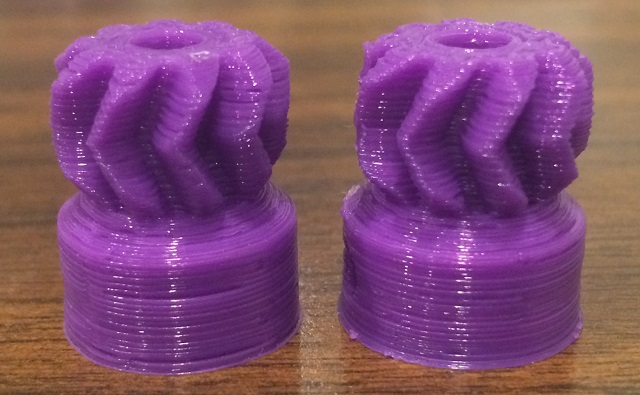
I am not sure if there is much of a difference. They both look pretty good to me at least at this angle. I am pretty sure I didn’t do something right. I have seen other prints that look better than that.
I am not sure what to do so I get back to my girls project. I load the heart up into the software and I must admit right away… I am not sure about this at all. It builds these little support columns to build up the heart shape (Those are meant to be broken off later). And I am not sure why this isn’t printed with its back facing the bed. It just seems like a strange way to print it.
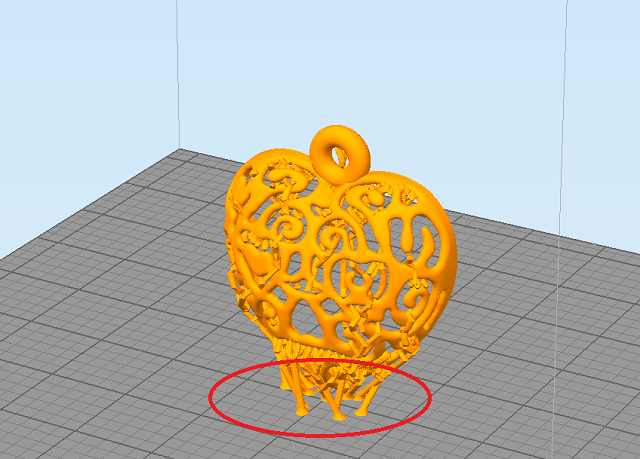
I press print and go upstairs to watch TV. Note to self… I don’t think this thing will print… that doesn’t look like something for a novice. Hopefully “Charlie’s Tweaks” will make it fly.
I come back down when it is done. Here is what I see.
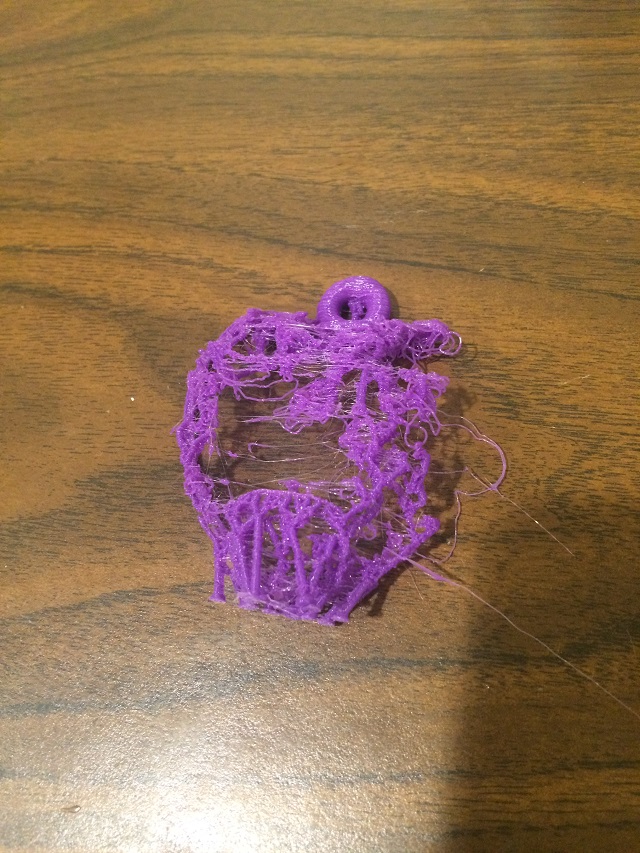
Since it was easy… I tried turning back to my old settings heat bed 60, hot end 190 and it was so bad I just stopped it as it was turning into a way bigger mess than the first try.
OK… I have a LOT of learning to do. Time for bed!
—————————————
I am really tired from not getting much sleep last night, but I can’t resist. I have to try to print something. I will pick something easy. I was asking my buddy Charlie about my printer missing a button for the control panel. He emailed me one.
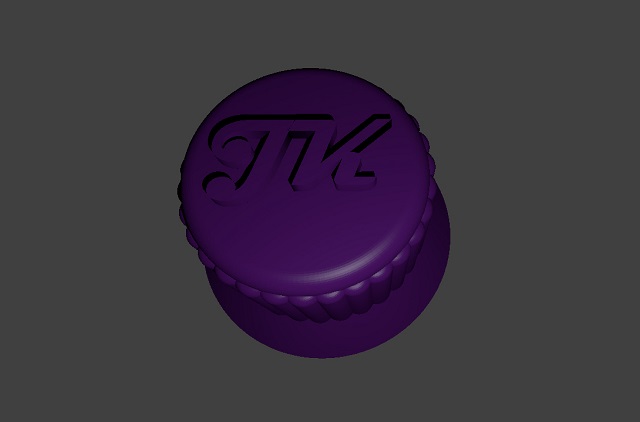
Now that is a picture of it in a program called Blender. It looks like Charlie customized it for me… Oh… There is lots and lots to learn, this is so fun.
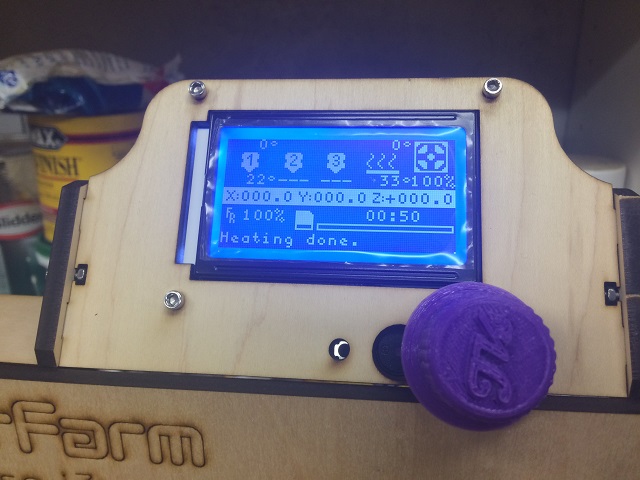
Here is printing that knob in super super fast motion (I ran it through the video program twice, so the clip is only 30 seconds).
And here it is installed.
That was a great distraction and easy, but I am not sure what to do about that heart thing. I mess around with settings and there seems to be a pretty important option called, “Customize Support Structures”. Now that makes sense. I didn’t see how that heart would be able to print in that position. Standing up like that on with the tip to the board just looked impossible.
So I run the automatic support structure doodad and click print. Let’s see what happens. I record the whole process of course for the video because it is easy to do.
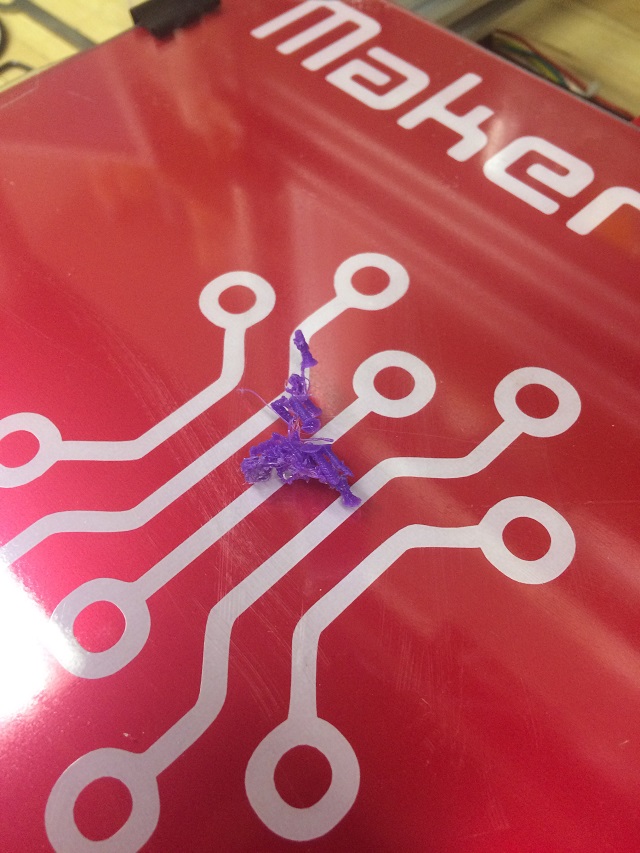
Now that is interesting and new. I am going to have to figure out how to break away all of those supports without damaging the heart itself. And of course there is this weirdo thing.
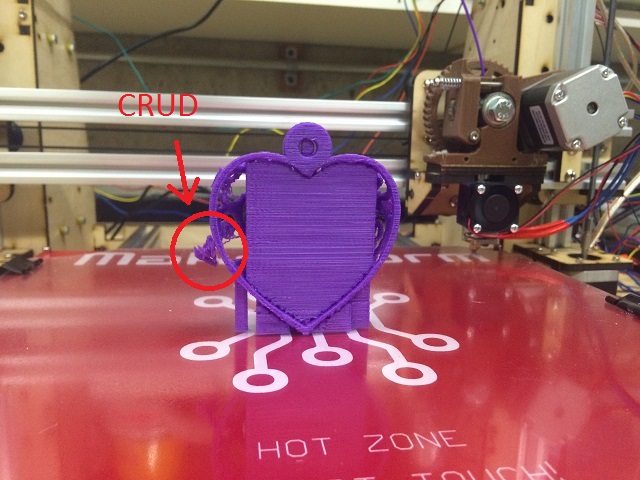
I don’t know what that is… I am not sure how to clean it off. I grab a screwdriver and start chiseling away. I am not worried about the time it takes because in the future I expect I will have my kids doing this part. Here is what it looks like.
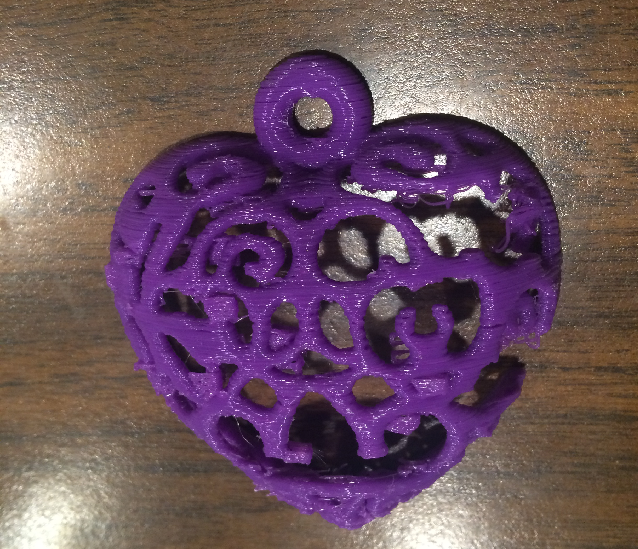
I think it is super ugly. I don’t like it at all actually. But I am very happy…. Why? Because we can work with that. I am close… Here is how close we are:
- The kids chose the heart. Even if I don’t like it they were nuts about it. And now I have confidence that I can actually print it. That picture has some messy parts of it, but for a kid that will work. My goal of this whole project is to get something to trip in their brains saying, “Oh… If I think of something I want, I might be able to design it and print it at home!”. When I pulled out all of the stops and bought this printer that is what I was going for. I spent a lot of money on it (And a lot of time) and bought every single color they had… Not for me… But for them….
- The fact that the picture showed it was lit up is huge for me. That is right up my alley. 3D printing is new to me, but putting an actual “light” in something… It makes me super excited! That part is fun. I will have my kids build the “glowing part” of the “heart” they picked before they even see this thing. I taught them all about lighting things up before Christmas, It will be huge!
That is all for now… Stay tuned!

Recent Comments