So after Charlie read my last post he gave me some advice. Turns out I didn’t level that heat bed enough. I went through the leveling process again using a thinner paper for the leveling. Then… Just like last time I hit “Print”. Check this out!
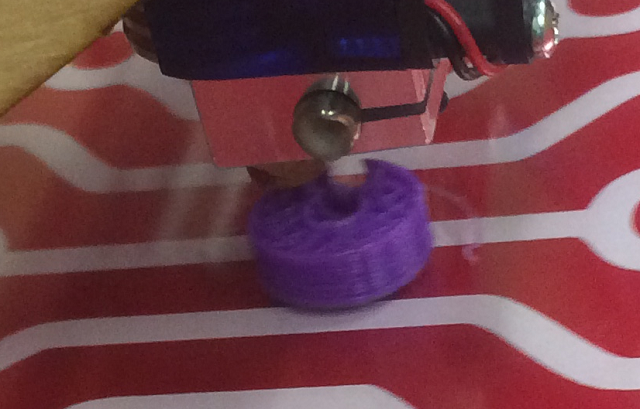
Now that looks pretty good to me. It is about 1/4 the way done and as the computer program I used predicted it will take about 25 minutes.
It finishes that little gear and I pull it out.
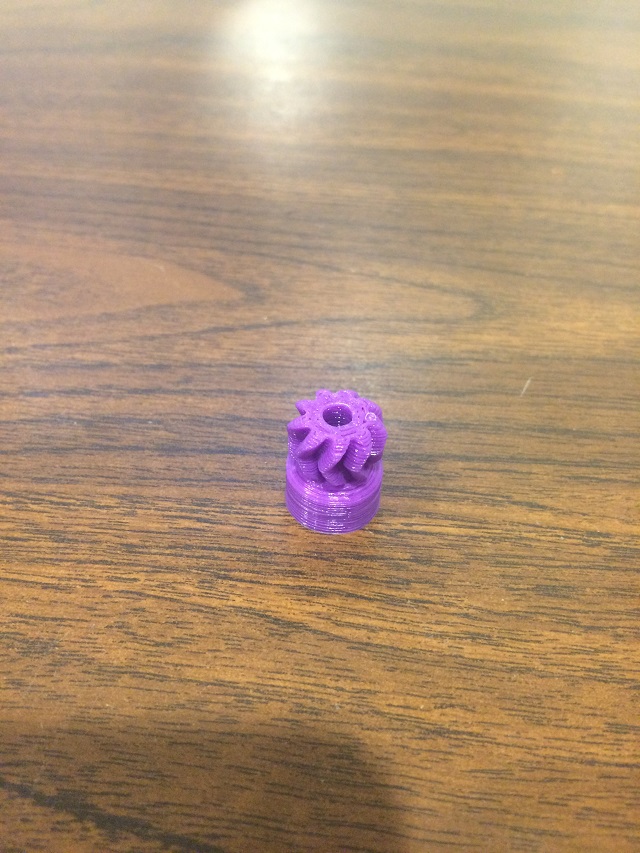
Then I print the next gear… This is fun!
Then I print the bracket that holds the big gear. For that I took a little video of it doing its magic!
Now that is all fine and good, but we can improve on that last video. Just to print that graphic, it says it will take two hours. I need to do a couple of things.
Moving forward and I hope this wont be very time consuming for myself; my hope is that in the morning I can press print and then go to work. I want to make it so I can watch this thing from anywhere. More on that later.
Another thing I really want to do is to be able to speed up the process. Now I can’t do that for the printer, but I should be able to do that for the youtube videos. Wouldn’t you like to see a video of it printing an entire part in super fast motion? Yeah… I thought so… Let’s do that first. Plus I need something productive to do while that bracket finishes printing.
Last April I had to create a web commercial for my company. For that I had to buy some fancy video editing software. I download and install that on our RAINDROP-PC. I also attach a web cam to a tripod and point it at the printer bed. Here is what that setup looks like. See the webcam on a tripod and notice what our RAINDROP-PC has on the screen!
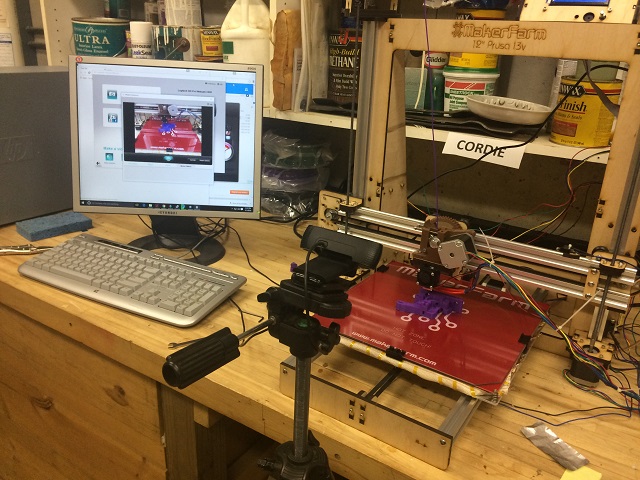
Yep… The PC sees the video from the webcam. That is good. That means when I connect to it remotely… I see real time what is happening on the printing bed. Pretty neat, huh?

Now I am just a simple few firewall rules from allowing me to connect to that machine from anywhere in the world to see and control my 3D printer. With that done… I notice the third in the series of 4 replacement parts has finished. It looks pretty good.
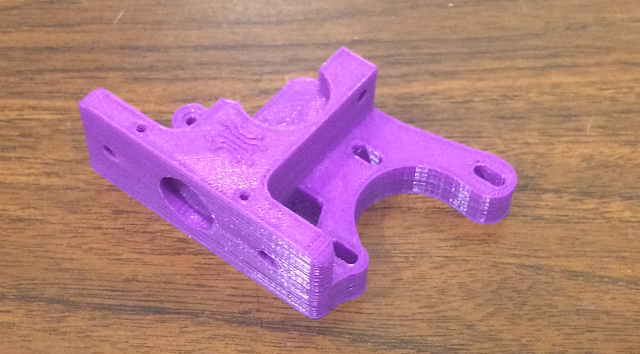
That is so strange looking that purple bracket against that brown desk. It almost looks like I photoshoped it on top of the desk, but I didn’t. I just took the picture.
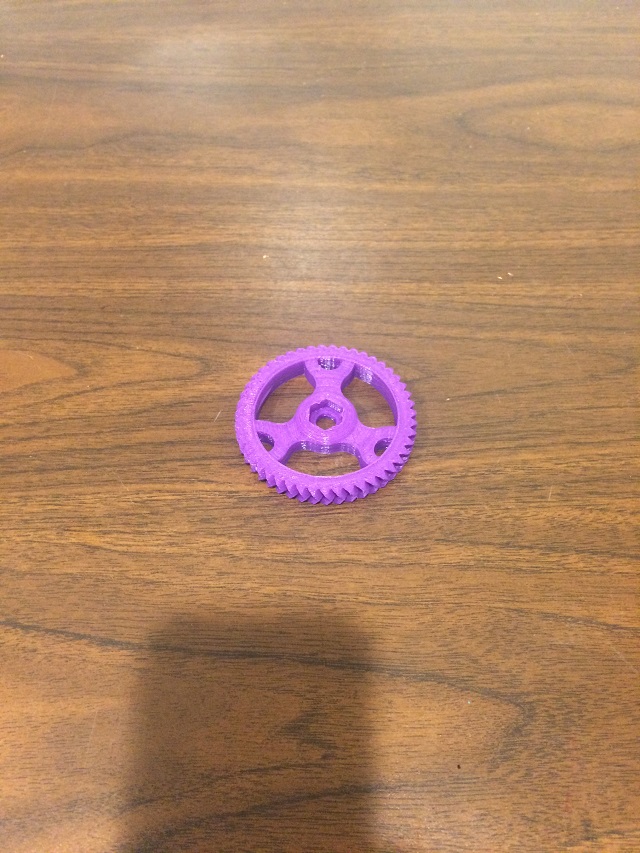
OK… Because I don’t want to be like the other two guys that have 3D printer; who will make fun of me when a part breaks for it that I could have printed out myself, I print the last one. It is smaller than that that bracket so hopefully it doesn’t take too long.
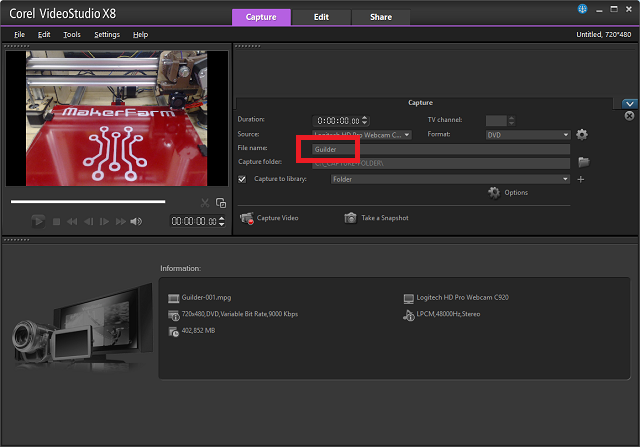
This time… Because I have some time to kill, I setup my video software before printing and set it to record the entire print process. I will see later if I can take that video and make it play super high speed for youtube. Here is a screen shot of my “capture setup” in the video software. The piece is called “a guilder”.
 ‘
‘
I get the system all ready to print… Then I hit “print” on printer, then wait until the heat bed heats all the way up and the hot end is almost up to temperature then I click “capture” on the video software (I do this all from a remote connection to it to test my cool remote access to it for later when I am out of the house).
It says that will take 40 minutes. That is enough time to watch a show with my wife. Note to self… I started this at 9:07PM. I want to see if it really takes 40 minutes.
Note: I didn’t go upstairs right away because the printer just stopped for some reason during the print. There was a “force next” button on the software, so I pressed it, then it warned me that that was a “last resort” option only if I didn’t have any choice. I pressed it anyway and it started moving again. Not sure what that was all about. Also, with these three parts I have not cleaned the bed once. I think I am supposed to be cleaning the bed in between prints. Oh… Another funny thing… I keep forgetting that I can watch the printing process from my desk now with the camera I setup, but keep getting up to go in to the workshop to check on it…. Technically I can watch it from my iPhone now as I have an app for that.
——————
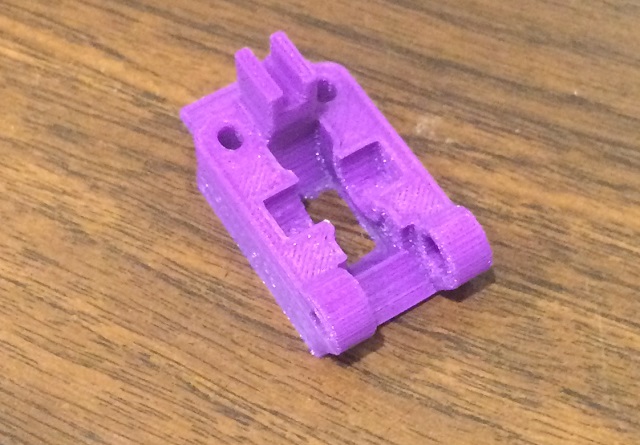
OK… I can’t show you the video. I went upstairs to watch TV with my beautiful wife. When I got back down stairs, the video was “corrupted and unreadable” At least that is the message I got. Now I remember having these issues when I was creating my web commercial. When I started the software for the video, I was asked to download an update to the video software and install it. My fault… I didn’t do it, so I messed up the video. Anyway… Here is a picture of my new part. Grrr… No video…
So that is all the replacement parts I need for this printer. It was good practice. Now I actually get to print something that I want to print. Oooooh…. And I want to pick something that would make a good time lapse.
My father and I were talking about this the other day and I he got all interested in parts to build a geodesic dome. He wants to build a green house using the concept some day, so I think it would be a great visual for a video and also something to get my father to start reading my blog (My dad is just like my wife, he doesn’t like to read my blog… Weird, right? He is the smartest person I know, why wouldn’t he read his son’s blog? It is OK though… He is an excellent fisherman and really loves my mom, so I can forgive him.)
Let’s get to it… Here is what I am going to do… I am going to find a geodesic dome that someone designed already, download it to my printer. Setup the NOW updated software for my video camera… And I am going to figure out how to time lapse it so it looks really fun while printing in a video on youtube so no one gets bored!
For good measure… I reboot my RAINDROP-PC, then clean the heat bed and spray it down with hairspray to make it sticky.
Then it all falls apart… I can’t connect to it from my PC… It stops in the beginning of the print… I must have messed up something in the firewall rules when I tried to make it be available for me to connect from anywhere (Yes… I was showing off… I thought I wouldn’t be humilated when I said I coudl make it accessible from anywhere… It is good though… Good to have “my craft” bite me… Keeps me humble) As usual the part that I am “supposed to be good at” embarrasses me.
It was a good day though… It was a great printing day as far as I am concerned. Yesterday we had a totally bad part. In one day, I printed all of the replacement parts for the printer. It is midnight and I have to do serious work tomorrow… I will pick this all back up when that is over.
====================
OK… I had a long day at work, but am back at it.
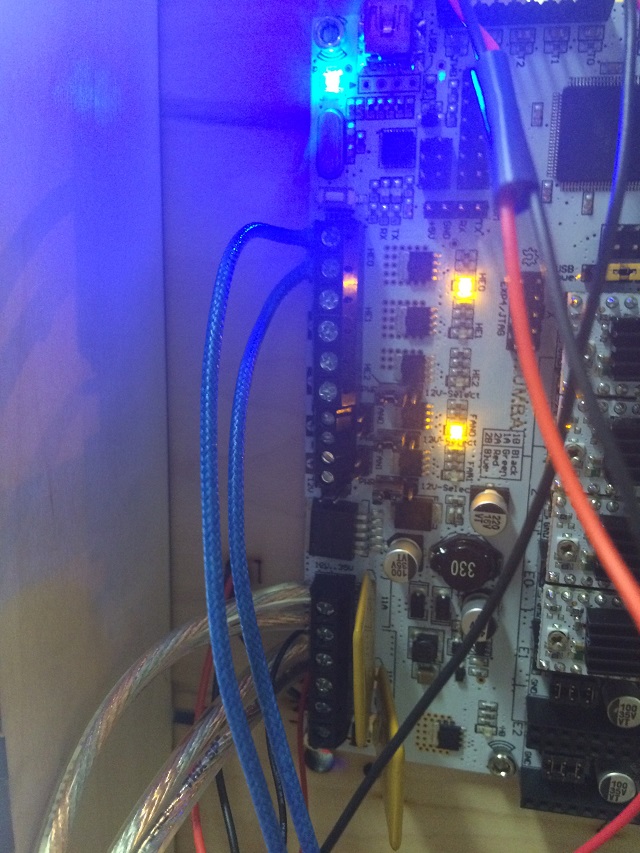
I fix my firewall rules pretty quickly and now I can connect to it again. I try to print our geodesic dome and again… It heats up the heat bed and stops at heating up the hot end. It just stops. I unplug it and check the connections. I take them out and they look like they were in there perfectly fine. The heater for the hot end is the blue wires to the upper left.
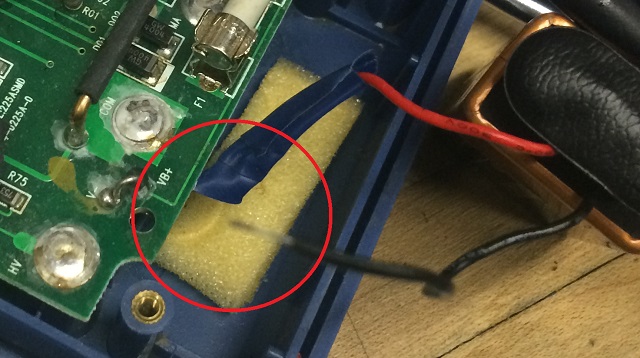
OK… So now I pull out my multimeter and guess what? It doesn’t turn on again! Remember last post I killed that red wire replacing the battery? I open it up and the black wire broke off the solder. I can’t get the board out to see where to solder it back in and I guess and connect it to the right place. In this picture the black wire is stripped, I did that before taking the picture.
I get the multimeter all put back together and then start my print job again. This time it just starts heating up like normal. I start the video software to capture the entire print on video. When it is done I will see about fast motioning it.
Here is what I see on my screen when remoting to it. The upper left is the video stream. More toward the right is the printer control panel that shows me the temperatures, X, Y, Z coordinates, etc. Also, I just noticed it shows me how far along it thinks the project is and what is left. I was hoping to find something like that in this software. It is hard to read in the picture, but it says it is 35% complete and has 35 minutes to go.
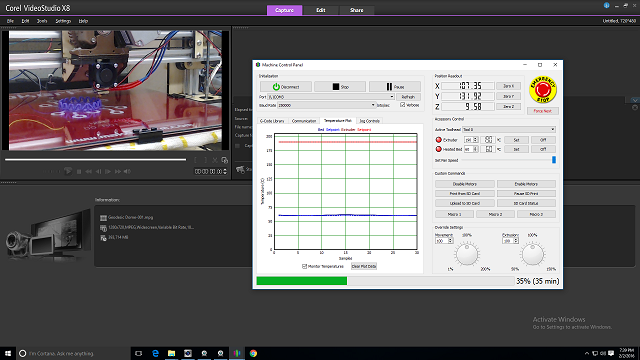
Hmmm… You observant people will see I haven’t activated my Windows software (Lower right hand corner text “Activate Windows”). I am going to do that now… I have a feeling this PC will be with us for a while.
Now that took a long time. I think the original estimate from the software that it was going to be 1/2 hours. That took 1 and 1/2 hours. Whew… But I did get it all on video… That was a long time so I figured out how to time lapse… I time lapsed the full print down to 8.5 minutes or so. That is still a long time… But you tube allows you to skip ahead.
That was fun and I am really glad it worked. I don’t really like the final product though. It is ugly and not a good demonstration of what a 3D printer can is capable of. The final print of that won’t impress my girls.
Now I have to see if I can figure out a way to get my girls plugged back in. I have some ideas… No geodesic domes for them.
It is 10:20PM… If I run upstairs quick I can watch TV with my pretty wife! More on all of this tomorrow (Or the next day).
Stay Tuned!

Recent Comments