Monthly Archives: January 2016

You are browsing the site archives by month.

Project RAINDROP – We may have lost Hannah’s interest for a bit

OK… I think we lost Hannah’s interest. She is my eight year old and most capable. My wife told me tonight she was hit with the “creative bug” and she just wants to sew. This situation is my fault because I ran into things that I didn’t understand. First I wasn’t sure what to do about the false virus warning. And then there was the whole glass thing where I didn’t want them to get cut, so they weren’t working on this project. And the workshop is still a total mess, it is no wonder my girls aren’t thinking about it anymore.

I have to figure out how to turn this around and get my girls plugged back in.

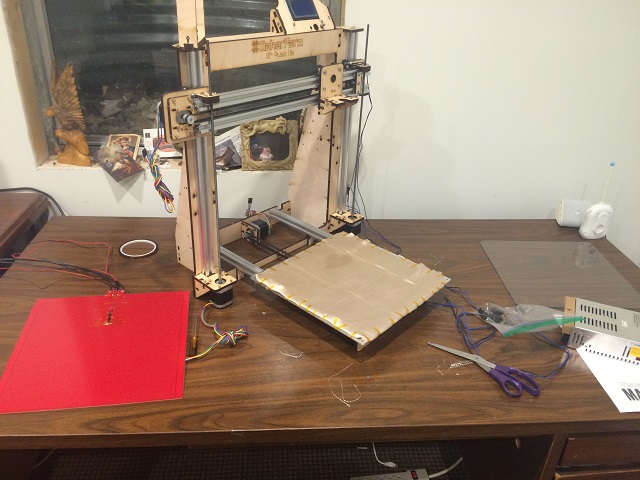
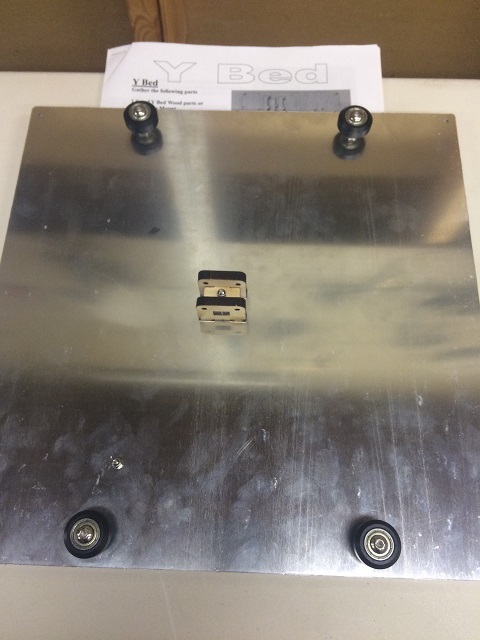
I did get some work out of them today though. The heat bed that keeps the printing surface nice and hot while the machine is doing it’s thing needs a thermistor. So we install that.

IMG_2437

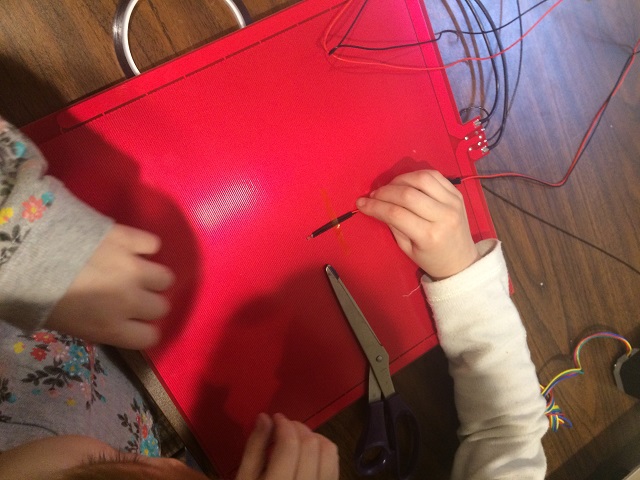
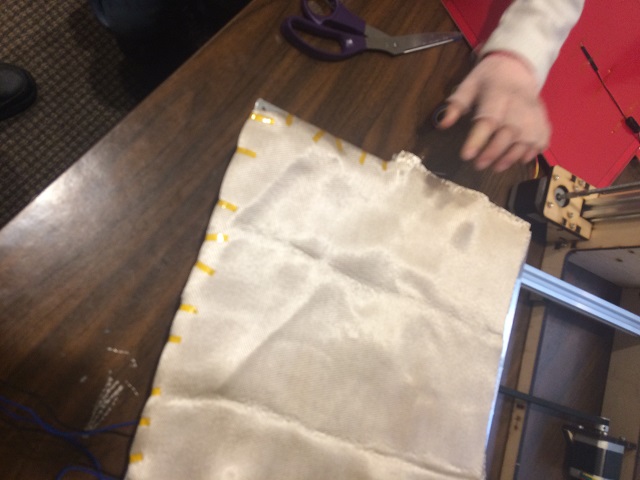
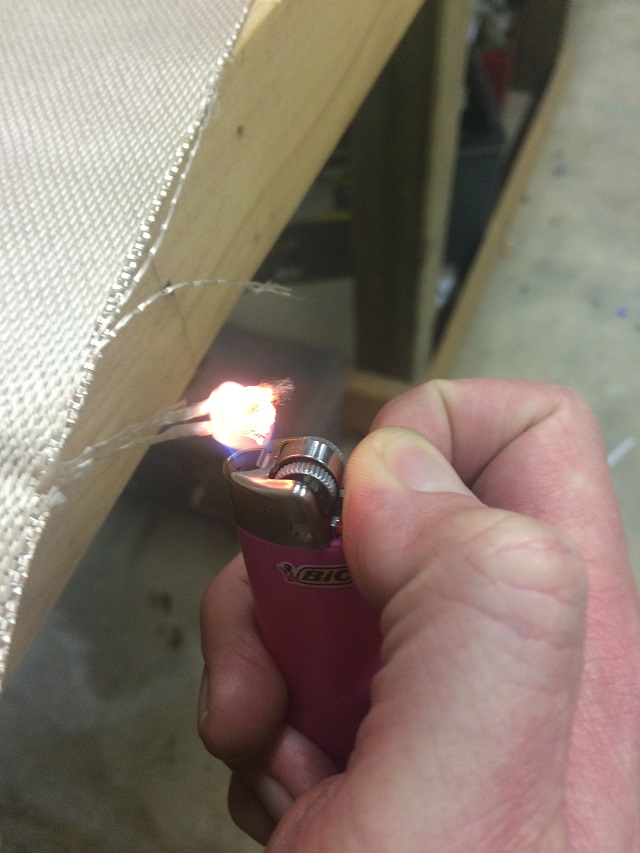
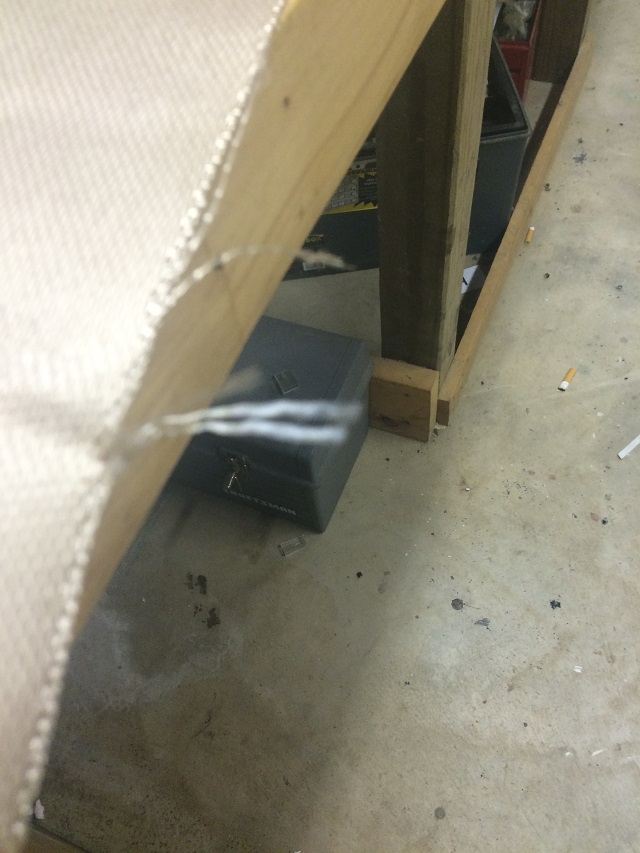
Then the girls start working on the insulation (Welding Curtain). That keeps the heat from dissipating out the bottom of the heat plate.

IMG_2438

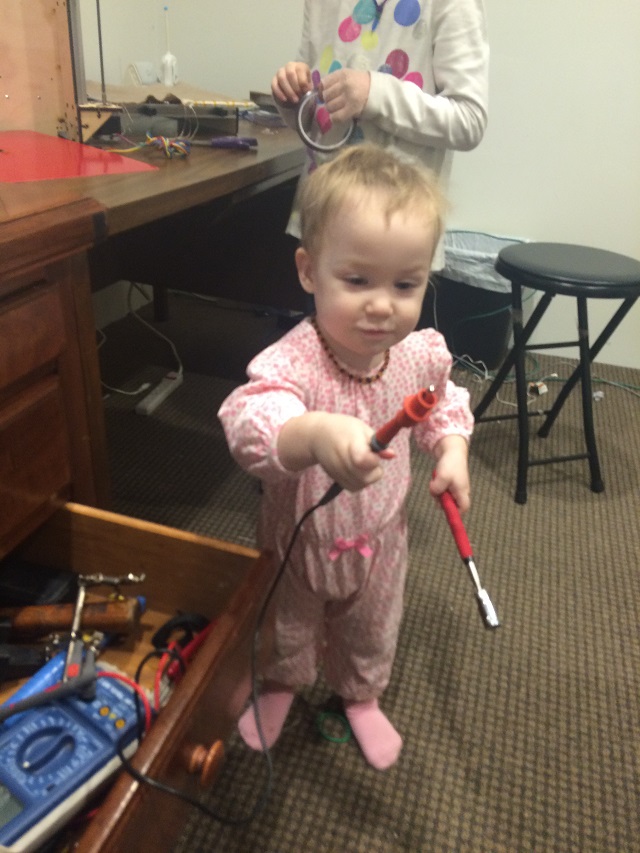
While all of this important work was going on Kasia decided to open my tool drawer and pull out the alligator clips on my multimeter. She must have thought they looked like some sort of monster or scary animal and just started growling, “Rar….Rar…” It was pretty funny.

IMG_2439

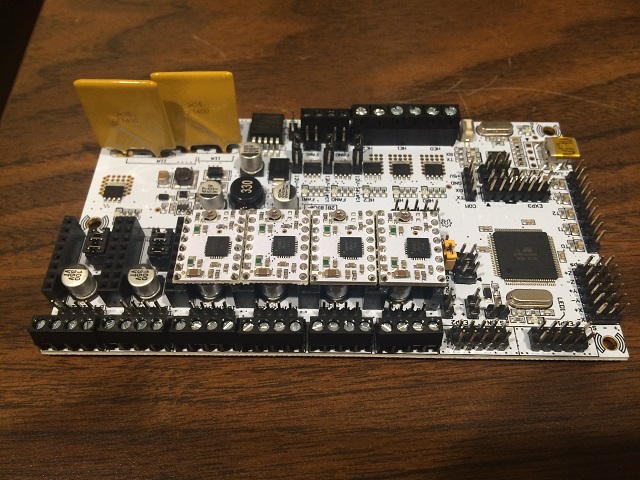
After the girls went to bed I had another look at the heating element. I was concerned that the plastic connector would melt. So I emailed the manufacturer about it. Here is what it looked like.

IMG_2441

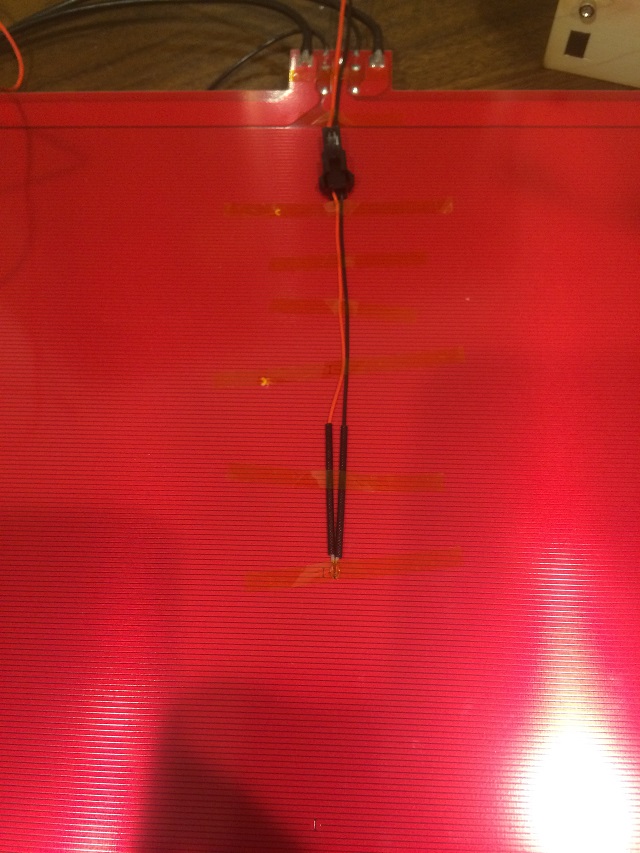
He said it would be fine, but her personally moves them off the board to get more room for the “Z” high. I emailed him back a simple “thanks” and didn’t let him know my personal secret… I am not totally clear on the whole X, Y, Z and axes yet (Thanks Mom for clarifying the plural of axis earlier).

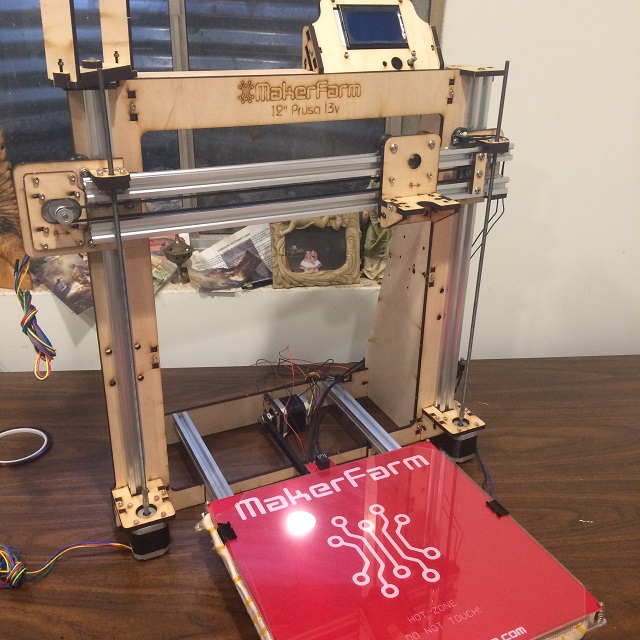
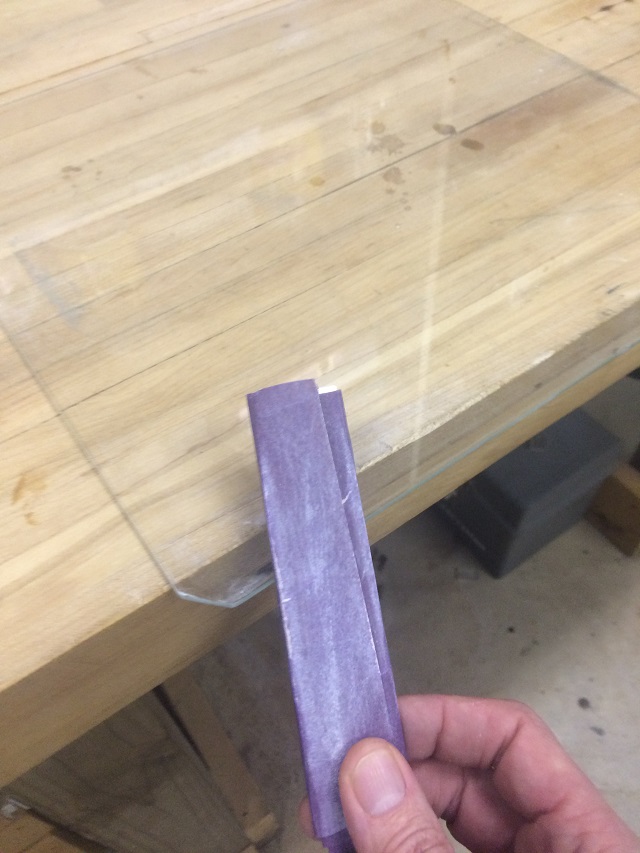
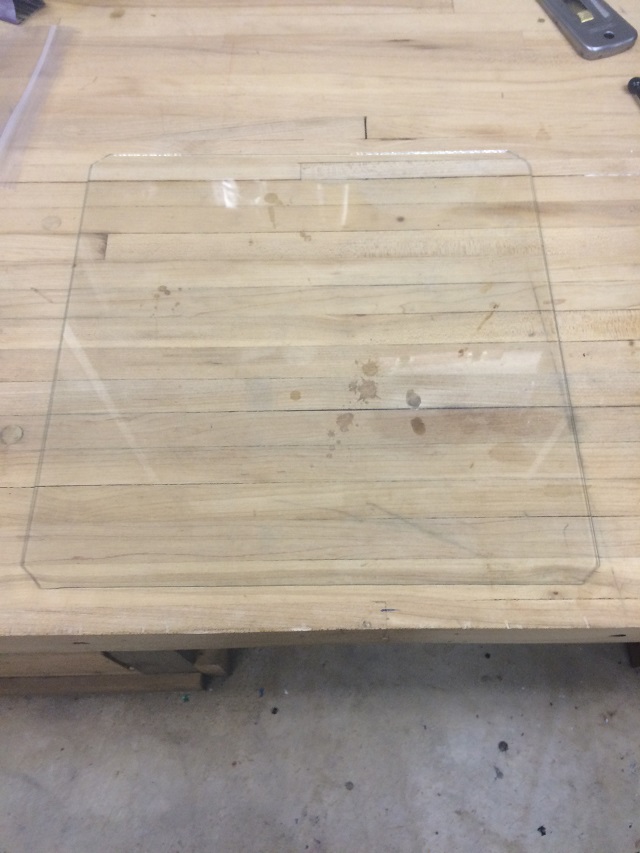
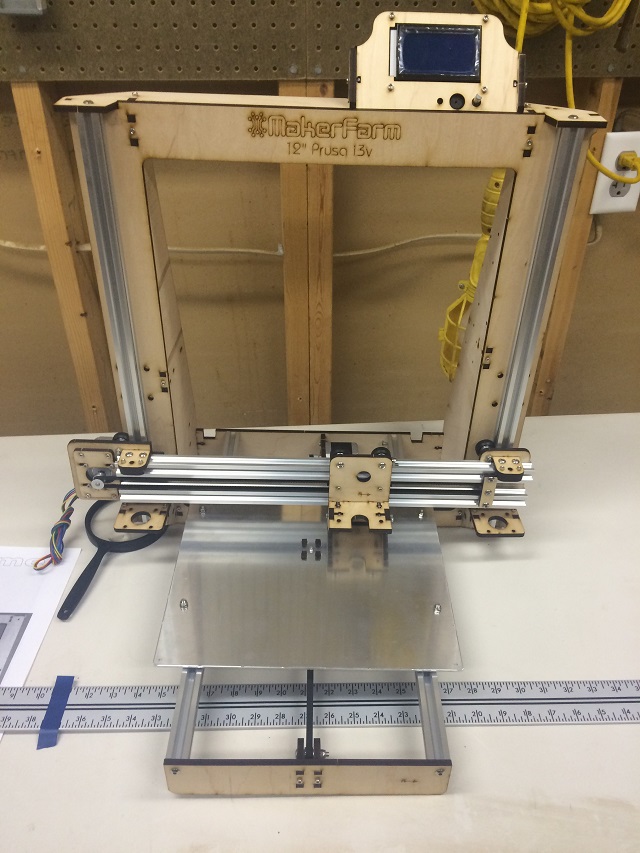
So I fix it. I move the connector off the board to make room for the “Z” high. And here is where it sits for tonight; we have our “perfect” glass, our heating element, our welding curtain/insulation attached to the aluminum plate (BTW – All instructions I have read call it a “bed” not a “plate”).

IMG_2442

So that is where I have to leave it for tonight. I am a little discouraged as here are the next steps… And then seem like a lot to me because I am very tired.

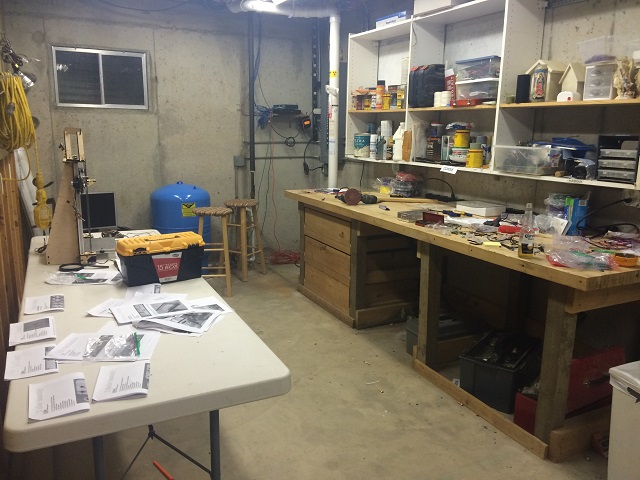
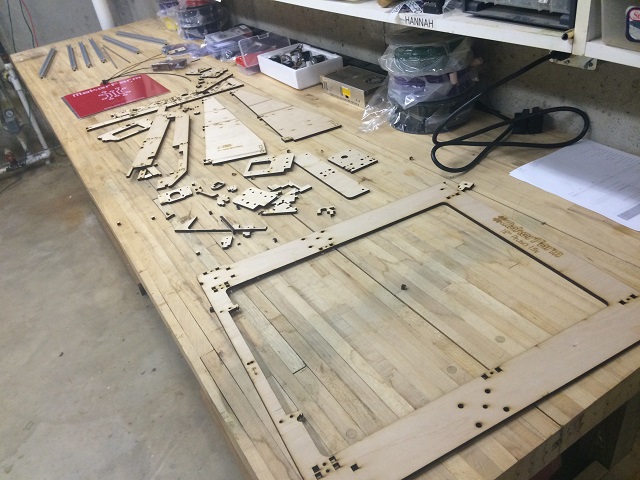
  1. I have to clean and organize the workshop. It still is a disaster.
  2. Me and Cordie are going to put together the head bed as Hannah has her own thing going on with sewing (I couldn’t possibly discourage her from her own project for this, or could I?).
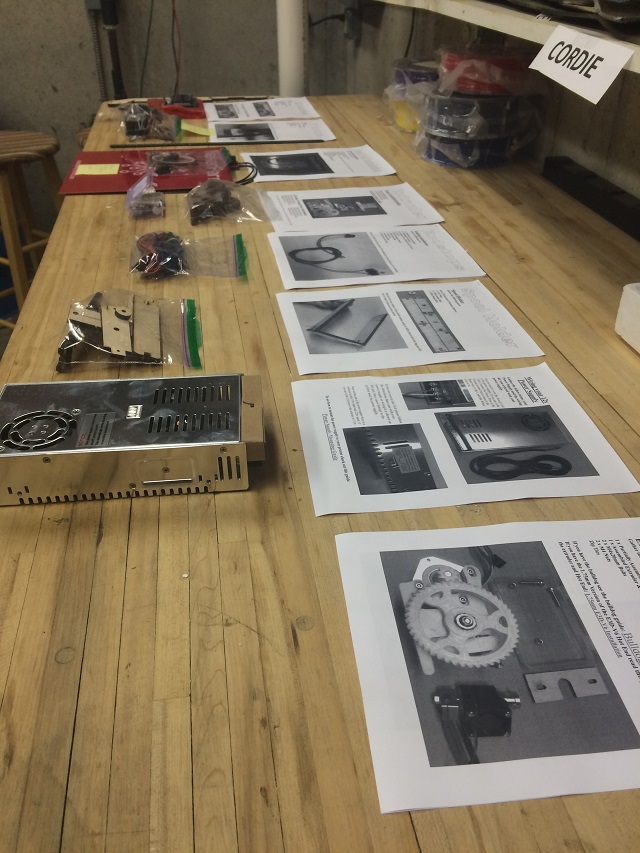
  3. Me and Cordie are going to mount the power supply to the unit.
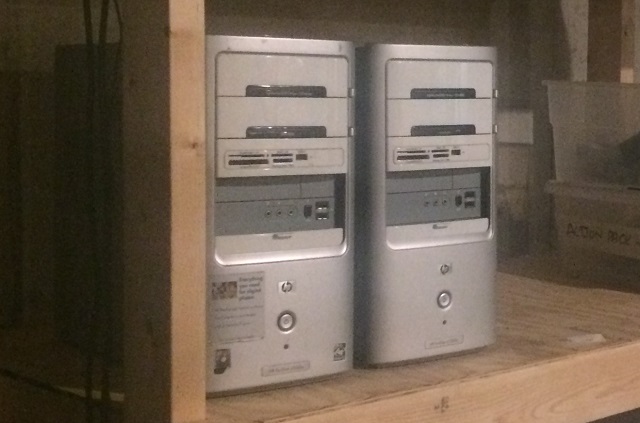
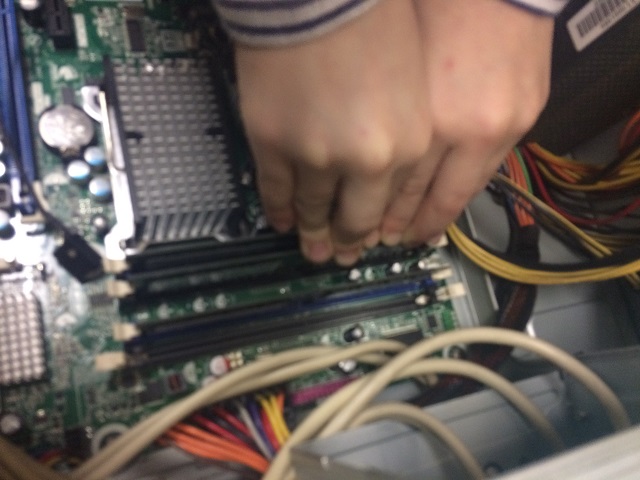
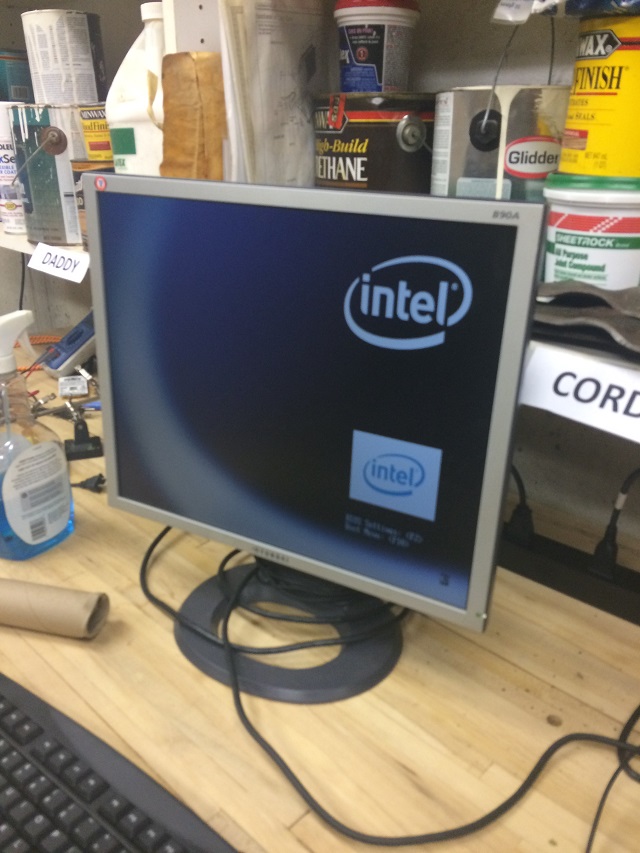
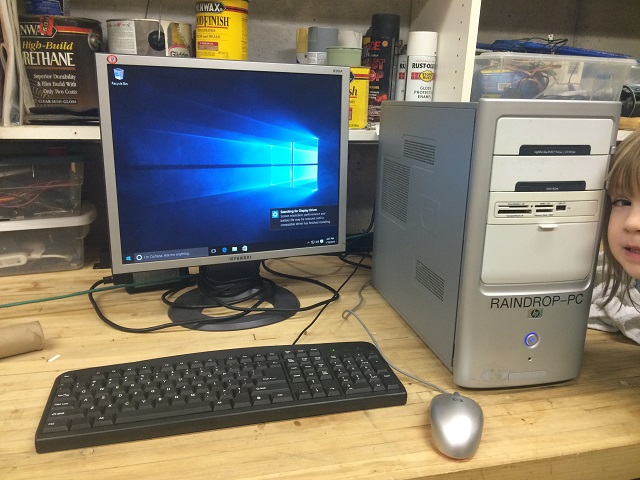
  4. I still have to put up the “RAINDROP-PC” computer me and the kids built to run this thing.
  5. I have to create a secure network on my firewall in my house so if there is any weirdo virus that hits this system, it can’t get to my regular work computer (This isn’t actually a big deal, but I have to figure out a good way to do it, so it makes it more of a problem than simply plugging it in).
  6. I have to figure out how to get the correct “code” onto the brains of the system (It is called a Rumba). This is a little annoying because I do this sort of thing all of the time in my normal job. I have to admit though, I am saving this for later because it is the part I am least worried about messing up.
  7. Finally I have to work with it by myself a little bit to solve a bunch of things that I don’t understand. For example… we haven’t connected anything yet.. no power, no nothing. I am pretty sure all the wires that hang off of it need to be connected somewhere… I haven’t even read that part of the manual yet.

1/25/2016

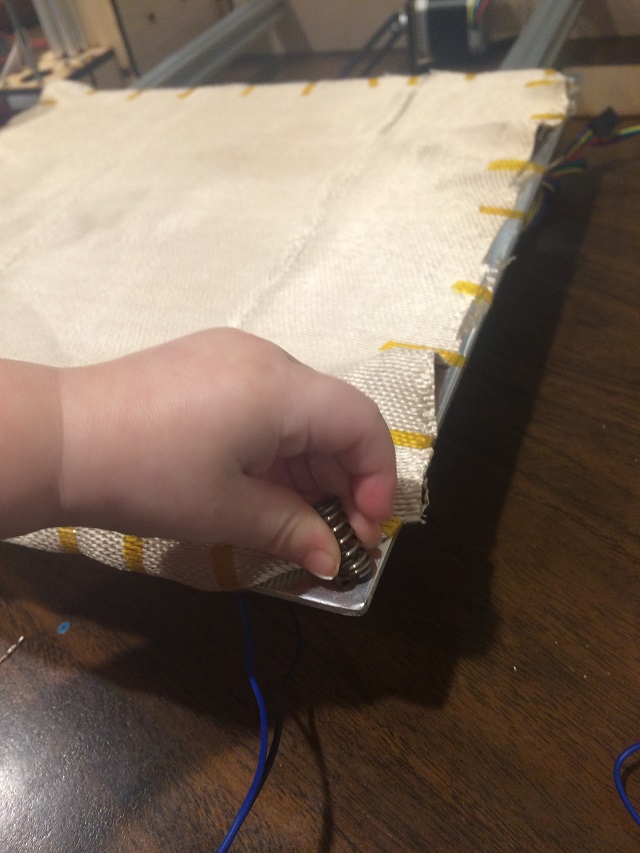
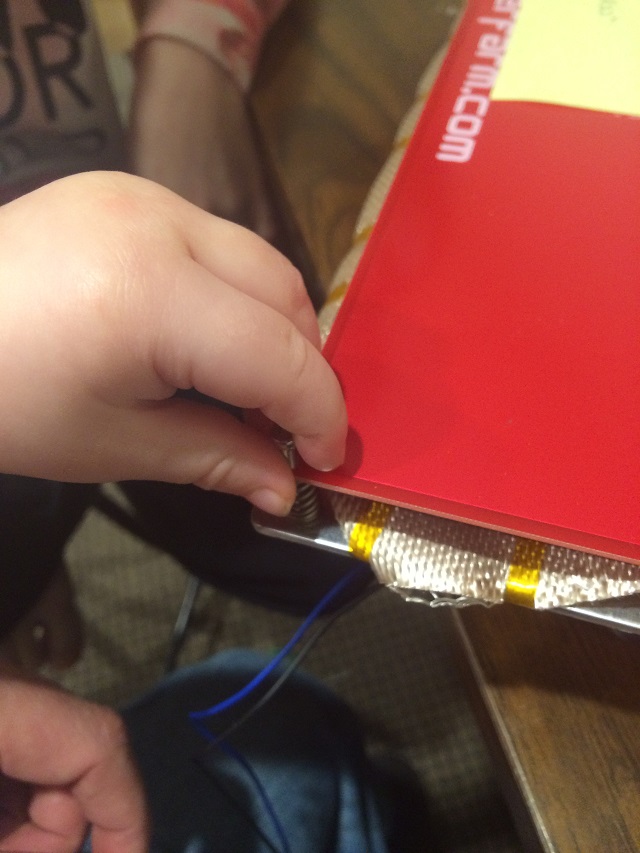
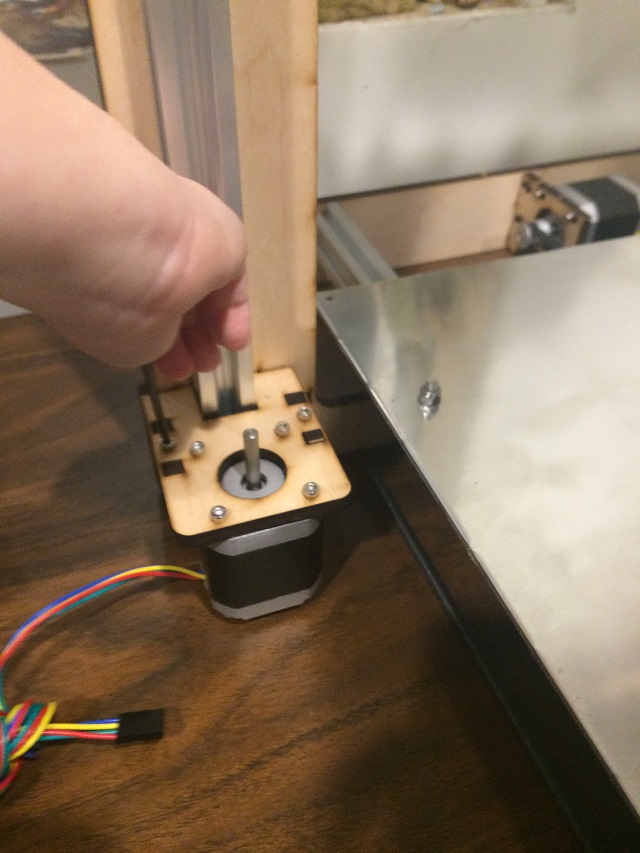
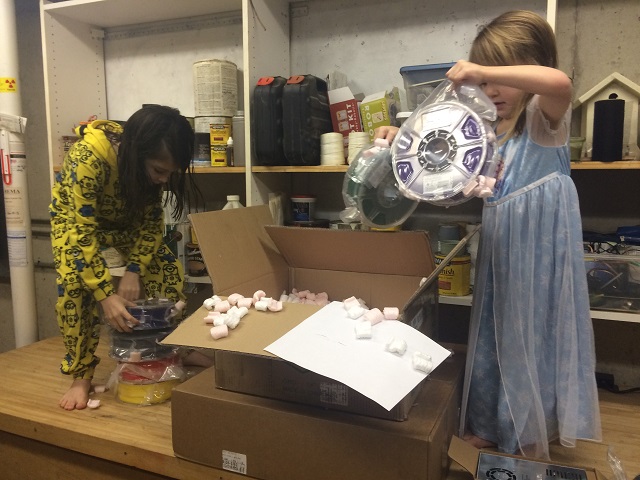
So it was tough getting the girls rounded up to help. They were much more interested in roller skating in the basement than helping. So I did what any good dad would do. I roped my 1 year old Kasia into helping (She doen’t know how to roller skate and I am pretty sure she is afraid of getting knocked down while the girls are, so she is happy to help). Here are some pictures of her helping me put the springs on the bed to attach that heating element. Her little hands are so fat it is funny.

IMG_2447

IMG_2448

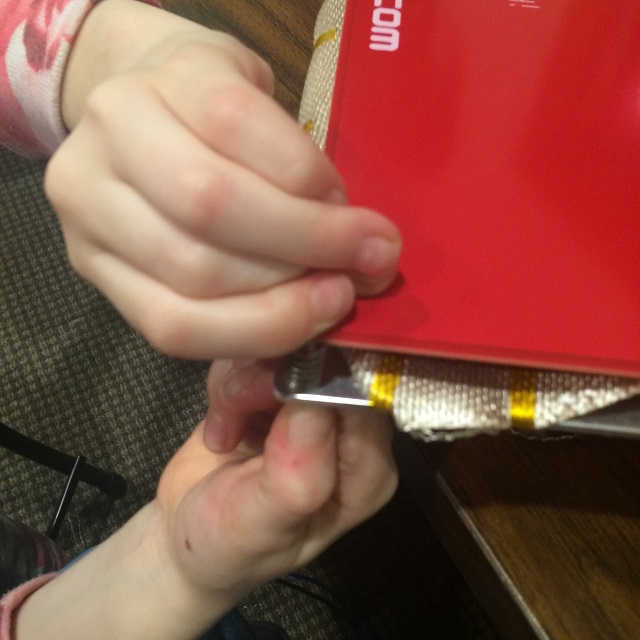
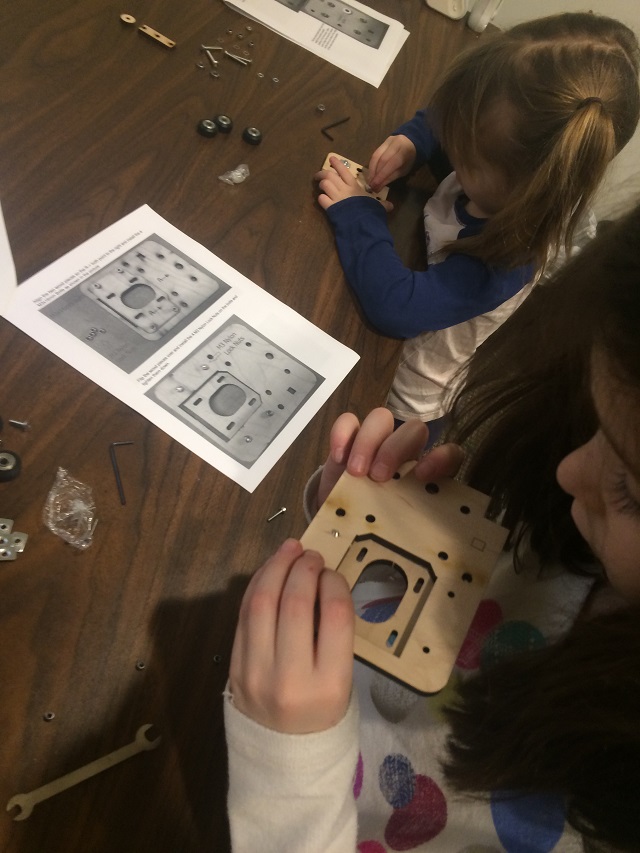
That was really short lived because she is so little. The girls saw the printer being worked on so they pitched in too. Here is Hannah and Cordie helping.

IMG_2449

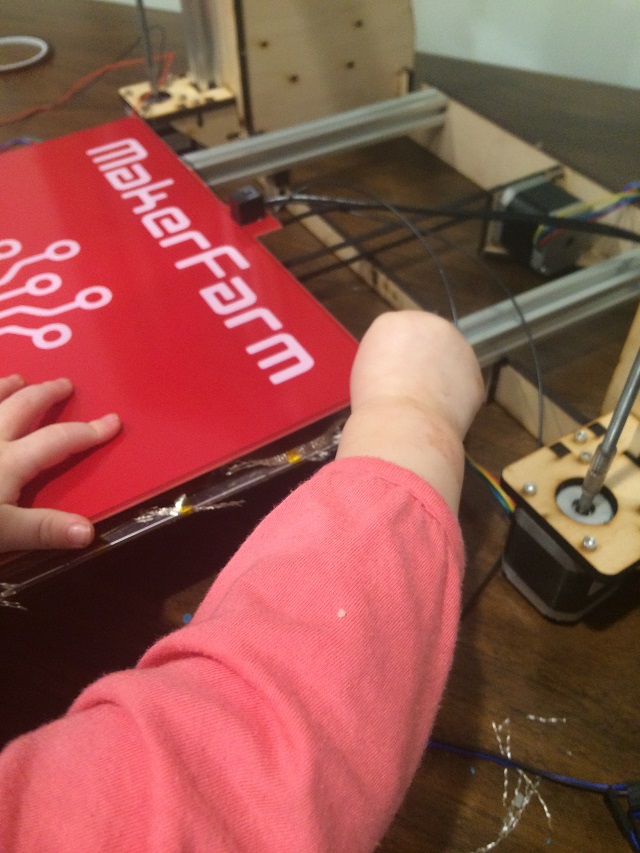
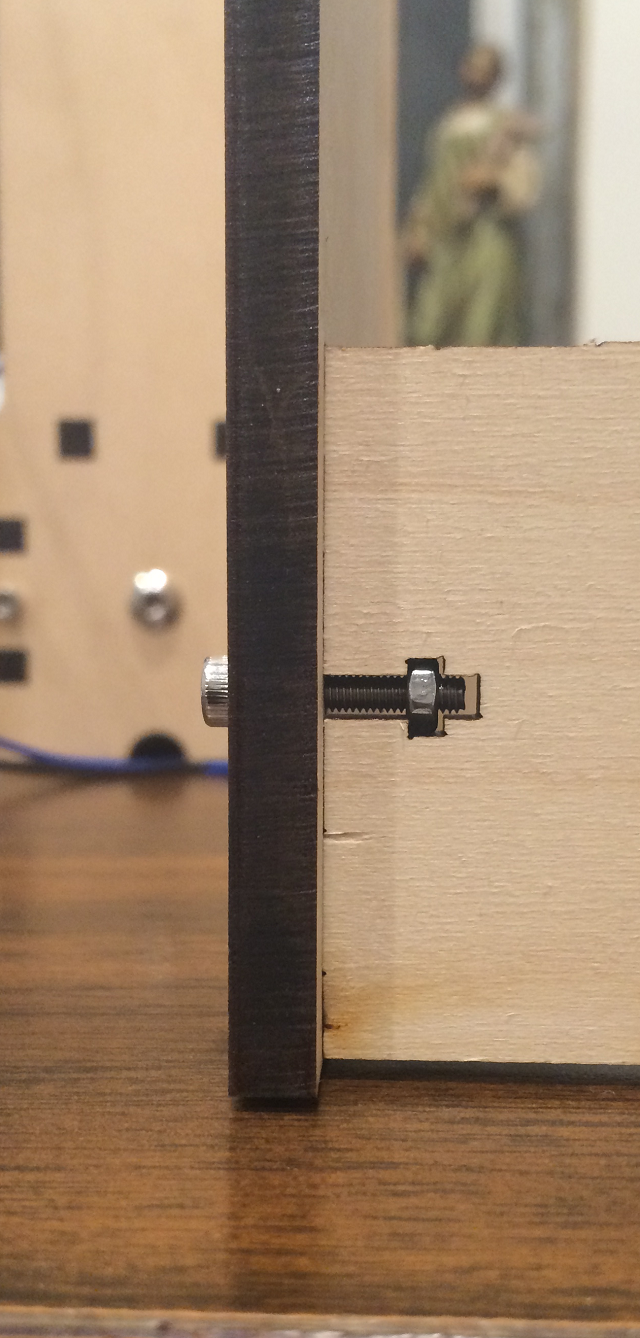
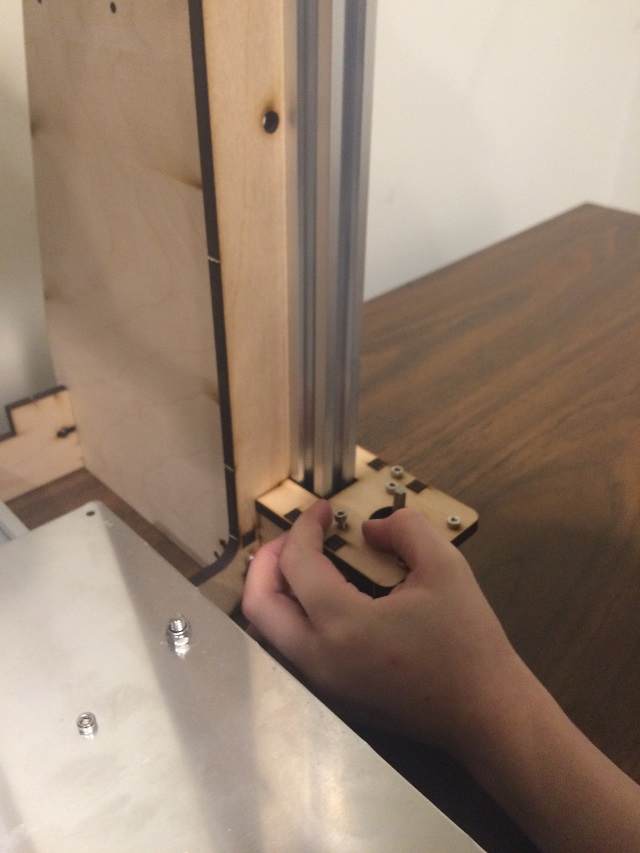
Hannah was the only one that could handle putting tightening the nut and bolt.

IMG_2451

And at this point in the project the team kind of hits a wall. We get all set to mount the power supply and I don’t have the correct screws for it. I didn’t buy the power supply from the manufacturer of the printer because there are so many different ways to power the thing up. I bought the recommended one, but it didn’t come with any mounting screws. So… I have to go to the hardware store.

I am starting to get frustrated with me and my teams lack of progress on this. It is none of our fault, it is just that I am reaching the point where I literally have to think hard about each step and the correct approach. The kids can’t really help me do that. When we first started I could look at a step and immediately break it down for the kids to do. Now we are in adult world. When I am installing drivers, updating firmware, making electrical connections, I need to be focused on that and not on instructing the kids. I need some time where I can really focus with this and my schedule this week is full.

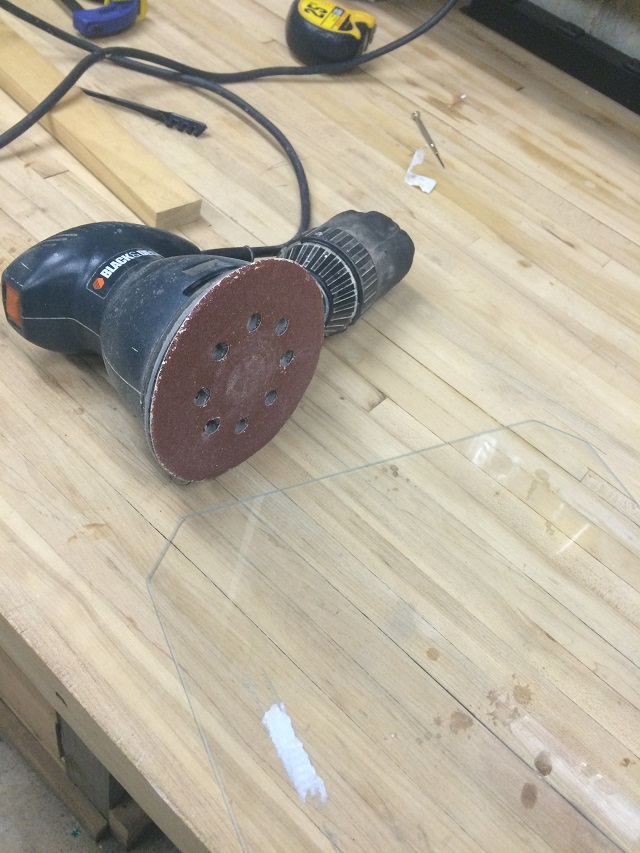
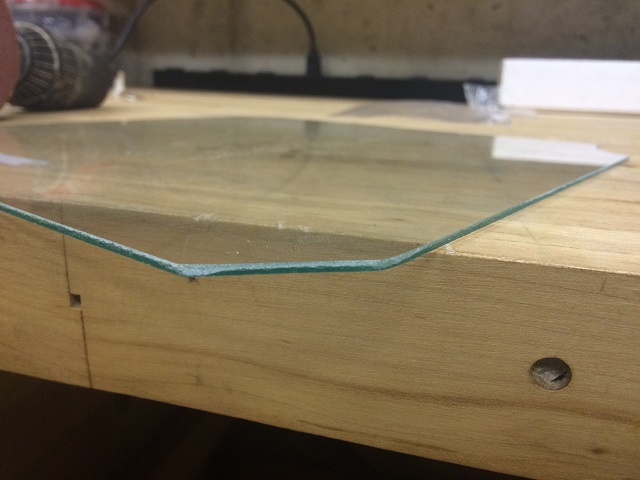
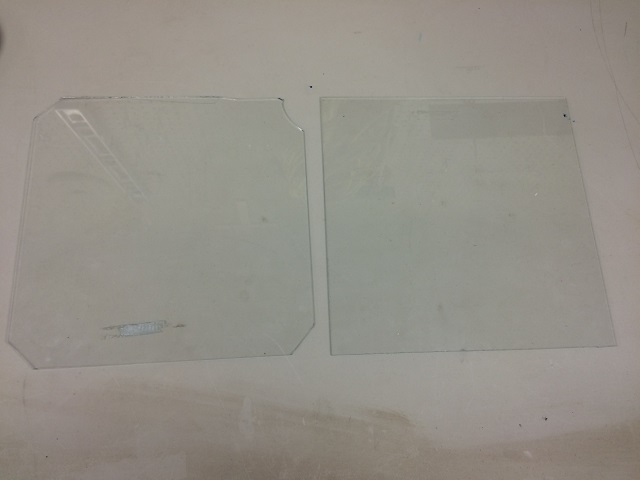
Oh… One more quick thing, my “perfect” glass didn’t fit. My junky glass did. So I used junky…


IMG_2452


Project RAINDROP – Virus or not we press on

OK… I have a plan. I am an IT guy and know how to make secure networks. That is what I do for a living. But one thing that people don’t necessarily think of is that I also protect people from “insecure” networks. After our last post when we tried to install a driver to update our board we getting virus messages that looked like this:

wiondows-defender

I got gun-shy and didn’t want to continue until I figured out what to do.

I mentioned that I own an IT security company. Surely I must have a way to address this in a way that won’t compromise my real work in any way.

So I look up the driver and lots of people are seeing the same thing I am:

http://forums.reprap.org/read.php?1,606755

Apparently there is something in the driver that is making it look like a virus. Well even if it does have a virus I don’t care. Remember a few posts ago? Well, me and the girls built a computer just for 3D printing. I think all of the software should probably go on that machine anyway so I should just power that up and get it connected.

Before we get all into bringing up the RAINDROP-PC (The computer for this project) me and the girls need to get a few more parts install on the printer itself. I mentioned glass in an earlier post. Oh and then there is that cool “welding curtain”. I want to work on those for a bit.

The first thing is the glass. The one thing that bothered me with my pieces of glass is that they had very sharp edges and my kids are going to be around this thing. I was thinking of just putting some tape around the edges to protect any little figers that may slide across it, but that will be getting pretty hot and I don’t know if that is the correct way to go. Also, the glass will need to be cleaned and having tape on the edges even if it did’t melt or burn off would just get washed off. I need to do something about the edges.

I complained to my buddy Charlie about this and he mentioned that I could just sand down the edges to make them smooth. Now I have lots and lots of sandpaper, all different grain sizes for sanding drywall mud or finishing off polyurethane to make it look like a mirror. The problem is, none of that is here. All of that good stuff is at my old house because it is being fixed up to sell.

But, I do have a Black and Decker sander. So I pull that out and try it on the worst piece of glass I have just to test it.

IMG_2425

I start it up and sand away and it does exactly what I wanted it to. It smoothed out those sharp edges really nice.

IMG_2426

I didn’t do anything with the other glass because I was afraid to gut those corners off for fear of cracking it like I did the one I worked on above. But then I found some piece of really fine grit sandpaper upstairs the kids had for some reason. I got all excited and brave and trimmed off the corners of my “perfect” 12×12 piece of glass and started sanding.

IMG_2428

And now I have this!

IMG_2431

That piece of glass looks terrific, unlike my other one. I was super careful with those corners. I like it, so I will use that one first and save the other for a backup in case this one breaks.

Yesterday (Friday) I was out at Charlie’s company and he gave me the “Welding Curtain”. This will insulate the heat bed from underneath so heat doesn’t get sucked away by the aluminum plate. I think it looks really neat.

IMG_2433

Before me and the girls put this into place on the printer, I want to do a heat test. So I grab a lighter and try to burn one of those frayed edges.

IMG_2434

It didn’t start on fire, so I think it is going to work well. Here is a out of focus picture of the fray after the trial by fire.

IMG_2435

Now there is something you cant see from all the pictures. It is the workshop and it is a disaster. I haven’t cleaned it since we started putting this printer together. It is an absolute mess. There are instructions all over the place. The remaining parts that we need to put the rest of the printer together are in no kind of order. Soon I need to get the PC plugged into this project and I don’t want to set that up in the middle of a mess. I need to organize this mess before we do anything else.

IMG_2429

I will do that next.

More to come!

PROJECT RAIN DROP – Lots of progress

So since my last post the girls and I have got a system down pretty much. We continued to work through the little mini-projects putting them together to get a lot of it put together.

One funny thing I noticed while me and the kids were working on this is the way the wood is held together. If you look at the picture below you will see them. It is a tiny nut slid into the wood on a little cross then the screw bolts through the joining piece to keep the wood together.


Untitled2

Now me and the girls really liked the little crosses all over the place, but I didn’t understand why the manufacturer just wouldn’t want me to glue it. In the last post things seemed to go together pretty nicely without any trouble and it isn’t like we would ever want to go through the trouble of dismantling the printer, would we?

Side Note: If you noticed St. Joseph in the back ground that was not really on purpose, his statue is behind my work desk in my office. Me and St. Joseph have an agreement; if he is in a picture I take on a project, I can’t crop him out unless there is a good reason. After all, he is the patron saint of work.

Well now why would we want to take it apart? I learned early on. Remember this picture from the last post?

IMG_2391

Those are our Z motor brackets and they are a mess. If I would have glued those together that would have been it. It is hard to tell from the picture, but they are both wrong. That was particularly confusing for me to fix. There was all sorts of stuff me and the girls put together wrong, but I didn’t realize it until later. So… In a nutshell, little crosses with nuts and bolts… Great idea!

Here is another thing I didn’t understand that I had to learn about. I was totally confused when we installed the first “Eccentric Spacer”. Here is a picture of one below.

excentric-spacer

When we installed the first one I thought to myself, “That is a really odd looking part. (yes… eccentric even) That is probably what gets put into devices when some measurement didn’t go right and they have to adjust the final product as kind of a “fix”. Of course I was wrong. Those suckers are strategically placed so we can tighten the carriages that move across the different axises (What is the plural for axis anyway… I should know this. I probably should have known what an “eccentric spacer” is too, but I didn’t.) Oh well… no time to be embarrassed for what I should know already… we must press on!

Anyway after a few evenings we got a lot of our parts put together and now it looks like something. At the top you notice a display panel. That will tell us important stuff I am sure. I can’t wait to see it turn on!

IMG_2405

The next step in the project is to get some insulation for to put between that aluminum bed. I have no idea what to do about that now. It also requires that I get some glass. So I go to the hardware store.

On my way to the hardware store I call my buddy Charlie who already built one of these things to ask him about insulation. People would buy some sort of insulating blanket, so I thought I would ask him what he did. I also wasn’t sure what to do about the glass.

Charlie said he had some insulation for me and would just give it to me. He explained it to me and it sounded quite technical so I put my brain into the same mode when my accountant or financial adviser talks to me because I am a bit slow and not ready to understand and have to wait until tax time to actually listen for real. What I heard from Charlie is this, “Oh… that is no problem, I have some extra insulating material that you can use”. I thought to myself and stopped listening (I know rude, right?), but in my defense Charlie already alleviated my fears on where to get insulating material and I got all worried about how I was going to get and cut the glass. When I started writing tonight I asked Charlie for more information on the insulation I would be using so I could tell people about it. Here is what he said:

  • It is “welding curtain” from a company called Avsil.
  • It can stand tempuratures up to 1800 degrees farenhight.
  • It contains no asbestos.

He even sent me a link:

http://www.avsind.com/tdspdfs/AVSIL84CH.pdf

Me and Charlie had a regular work project to work on in a couple of days so it would work out well. For the glass, he said just buy regular window glass.

Now I was hoping that they would cut it for me, but nope I had to do that myself. Now I remember cutting glass as I did a bunch of that years ago on my old house and I remember not liking it because it seems easy to screw up.

This particular project requires a 12″ by 12″ piece of glass with the corners cut off so they wont’ get in the way of some mounting bolts in the corners of that aluminum plate.

So I buy a 36″x12″ piece of window glass and a glass cutter (I know I will never find mine because I haven’t seen it in literally 7 years at least. I have to assume that one is gone forever). If I am careful I will have three 12″ by 12″ glass pieces for the aluminum plate.

So here is what I end up with. I completely ruined one of the 3 panes of glass for the bed so that went into the garbage. Then I cut the corners off the next one and screwed up one corner. Now I am gun-shy and decide to leave the last “perfect” 12″ x 12 ” piece to the right for later in case I break the ugly one on the left with the messed up corner.


IMG_2420

Now the girls couldn’t help with that part. So we press on with some other things. Like installing stepper motors!

The Z motor brackets we messed up earlier hold a pair of motors one on the left and one on the right that bring up and down the carriage that will end up holding our material (I had to look that up because 3D design is something that is totally new to me). But I do know a lot about motors and this part is fun.

So I have Hannah install the left Z motor.

IMG_2407

And Cordie installs the right Z motor.

IMG_2409

After that we build one of these! Now why did I put an explanation point after  “these” it is because those gears you see, I can tell, were printed on a 3D printer. I am supposed to print those out as my first serious project with this thing (I will do that without the kids to test the printer and save the surprise for something that will be more meaningful to a child).

IMG_2421

So until I get the welding curtain from Charlie I need something else to do. I scroll down to the section called “Electronics Setup”. Now this is where I hopfully will have the most fun.

The next step I will do is start working with the main system board of the unit. This is the brains of this whole operation, it is called a Rhumba board.

IMG_2422

Now there are all sorts of connectors on that thing. I am not sure what to plug into them. The instructions tell me to load the firmware for my display first and they are pretty specific about what versions to put on it. It tells me first to install a driver on my PC for that first step.

Now I install what is called “firmware” on devices all of the time. I am so old that the term “firmware” used to mean that you literally install a new physical chip into a device to get it updated (Think “firm” vs. “soft” ware). I have seen a lot.. But when I downloaded the firmware image to update this board… My PC complained about this:

malware-detected

Then I looked into it more and saw this:

wiondows-defender

Now I have seen a lot, but have never seen that before. Now I am paranoid.

I wasn’t expecting that at all. Now these two things may be “false positives” but I do have to be safe. I will stop here because of obvious reasons. I am not sure at this point how I am going to address this issue. For a guy who owns a security company to click on a link that had potential to give him a virus… Oh… No no no… That is bad bad bad. It is a good reminder, we are all just a click away from a really bad day. Maybe I dodged a bullet there. Maybe it was a false positive… I will do some poking around and find out.

I will tell everyone what I do to get past it in the next post.


PROJECT RAIN DROP – THE GIRLS GET STARTED


After Mass today I have the girls build their first two sub projects. At first they both need some help, later Hannah takes off and just is able to do it by herself (she is 8). Cordie still needs lots of help because she is 5. It is OK because I would go stir crazy watching them build this thing without doing some of it.

I am not going to bore you with the play by play. Here is just some fun pictures of what we got accomplished.

IMG_2387


IMG_2390

IMG_2391


IMG_2392


IMG_2393

IMG_2395


IMG_2398

That was all done in about 3 hours. I have no idea how much more we have to do. I don’t care though. It is so much fun building this thing.


Project RAIN DROP – How to get little girls to do a GIANT project

OK… Se have our PC. We built that a few days ago. All the parts came in yesterday for the 3D printer. Here is a picture of the girls opening the boxes and pulling everything out.

I am laughing to myself taking this picture. They have no idea what they are building, but they are dividing up the individual packages and saying, “This is mine”, “oh and this is mine”. They have no idea every single part does nothing by itself, it all needs to be put together to do something for them that will blow their minds.

IMG_2378


As it starts coming out of the box I am seeing just gobs and gobs of stuff. They were just so many parts and the girls were going a little nuts and I started thinking that there is NO WAY they are going to be able to help. I mean look at this… They will lose something or break something.

IMG_2380

I got the girls off to bed and decided I would take a look at the directions for putting it all together. https://drive.google.com/file/d/0B80A_woXoRWdd2xBUUJSdzRCT2c/view

After looking at the directions I can see how we are going to pull it off. I can see the very first step is to do the “X Motor Assembly”. I am going to pull all of those parts out tonight and take them out of the workshop and put them into the workdesk in my office (The work desk is a desk right next to my computer that the kids like to play at while I do my normal  work).

So… I print up pages 7-11 of the (104 page) manual which the girls can follow to build the X Motor Assembly. It has tons of pictures, so I am sure the girls will do fine with it.

Then I go to the workshop and gather the following from the parts list:

1 Set of X Motor Wood parts (Pictured Below)
4 x M3x16mm M3 Bolts
4 x M3 Nylon Lock Nuts
3 x Pre Assembled Delrin Idler’s (Black Wheel)
1 x M5 Washers
3 x M5x30mm Bolts
3 x M5 Nylon Locknuts
4 x M5x12mm Bolts
2 x Aluminum Standoff
1 x Eccentric Spacer
4 x T-Slot Nuts

Here is a picture of them so you can see what it looks like. I am sure the girls can do that part. They probably wont need much help either.

IMG_2381

So that looks like a pretty small job for Hannah to do, instead of having them both work on that, I just move on to the next step so Cordie has something to do. I get the parts for for the “X Idler Assembly”:

1 Set of X Idler Wood parts (Pictured Below)
3 x Pre Assembled Delrin Idler’s (Black Wheel)
2 x MR125 Bearings
3 x M5 Washers
4 x M5x30mm Bolts
3 x M5 Nylon Locknuts
1 x M5 Nut (Regular)
4 x M5x12mm Bolts
2 x Aluminum Standoff
1 x Eccentric Spacer
4 x T-Slot Nuts

Here is the picture:

IMG_2382

I must admit. I am impressed with this manual. When I first opened that box I was feeling a little sad, like the girls wouldn’t be able to help, but after looking at the way the manual is organized it is all broken up into little steps even kids can do. I have a feeling this is going to be really fun. After Mass tomorrow I will have the girls build those two parts and then we will see what is next.

__________________________

OK… It is now 1:02AM and I must confess. 2 hours ago my wife went to bed and I got bored so I worked on the curriculum. I realized that there are several problems with documenting this project the way I started. First there is NO WAY anyone is going to be interested in an 8 year old and a 5 year old building a 3D printer if I have to do a play-by-play like I started. In the last two hours I printed up the entire manual for building it. I then stapled each section together in order. Then I went upstairs and grabed a box of sandwich bags. Finally I went through ever page and put all the parts in separate sandwich bags and ordered them in a row so the girls can just crank through them as quickly as an 8 and 5 year old can (I will be helping them of course). Here is the culmination of all of my work tonight.

The following pictures are my neat and tidy “little projects” that will eventually bring us to a working 3D printer built in the good old USA by my girls.

IMG_2383


IMG_2384

This whole exercise makes me think, I have to teach them that when something is built in the United States these days it is a big deal. That will be important for them to know.


Project RAIN DROP – Post 2

So I need a PC for this 3D printer. I don’t want to use my own PC for this because I need it for my normal job and don’t want to just start installing 3D printer software on it. Lucky for me… I have lots of old PCs. The problem is… None of them work.

I have 4 PCs that look just like these.

IMG_2360

I tested them all a few months ago and couldn’t get any of them to work.

I pulled out the best one and set it up on the work bench with the girls. We turned it on and nothing. No picture/no sound.

My hope is that we get lucky. I have had these PCs for a long time… years and years and I put them through a lot. I am going to have the girls pull out the memory and dust everything of with canned air. Then put it all back together and see if we can get it to boot.

IMG_2345


After all of that effort we have this.

IMG_2346


That is a good start. Then we add a hard drive, CDROM, clean up the case… stick a label on it “RAINDROP-PC” and install Windows 10… We call this done and done. Easy project. A very important step forward and nice Sunday project for me and my girls.

IMG_2359

Now we just wait until all of our parts come in. Soooo excited.

_________________________________-

Click here to see the next post… We got our parts… I am very happy.

Project RAIN DROP – How to get little girls to do a GIANT project


Project RAIN DROP

OK… This project isn’t Super Secret from anyone but my kids. My last project “Project CORHAKADA” was such a hit with my kids I absolutely had to start another one before they forget how fun they are. I think the reason it was such a big success with them is that they helped me build the Christmas light show project and got all the way to the end without knowing exactly what it was.

Before I get started we need a back story:

I have been saving up for over a year to purchase a quad copter (drone). I wanted a really good one that me and the kids could play with in the yard. Now I am a responsible person and can’t just spend 500 dollars on a toy. So I had to create some “rules” for myself to actually get it. The rules go like this:

  1. Start a savings account in an old mayonnaise jar.
  2. Any coins left in car, around the house or that look generally unwanted can go into the jar.
  3. Any money that is given to me as a “gift” for Christmas, birthday, etc. can go into the jar.
  4. Any other money that comes in that is NOT from my labor or a reimbursement of any kind can be put into the jar.

Here is a picture of that jar today:

IMG_2342

Yeah.. There is money in there… But not as much as I thought. I asked my wife where, “All the bills went” and she said, “I spent them on violin lessons”.

Grrr… It made me so mad that it got all into our family business and I had to explain to my kids that me and mommy actually “can’t steal from each other” because all the money, cars, house, and any other  stuff we own, we own together.  And technically neither of us actually has “our own stuff” until one of us is dead (Yeah… It was a whole thing). I am still a little irritated. I have since moved my “savings jar” out of the family safe (Irony!) and put it in a safer place in my office drawer (My wife will never know as she doesn’t think my blog is interesting).

So anyway… I had all of these rules for saving money for my quad copter. For Christmas my beautiful wife bought me one, so I had all this money (or so I thought) just sitting there in a jar in the family safe.

Yesterday (1/8/2016) I was at a customer site and while there the customer, whose name is Charlie told me about his 3D printer. He told me about his printer before but it didn’t hit that nerve. It was before “Project CORHAKIDA“…. Before I knew my kids could actually be interested in anything I do for fun. When he told me again about it today… I went a little nuts.

To make a long story short. I have a legitimate business need for a 3D printer. So I just had my company buy one. Done and done; no mayonnaise jar, not thieving fingers, no safe, just order it up and call it done. Did I break the “rules”? Nope… I didn’t even bend them. It has to be done…. So… I went a little nuts….

I ordered one of these kits (We will have to build it):

That was going to be more money than I had in my toy fund so I got a little squeamish and sent the following to the website contact us page”

I have a customer that told me about your 3D printer that needs assembly and would like some help choosing the correct one. I am a homeschooling parent and want to build one with my kids. I have never used a 3D printer before but am in IT and familiar with hardware/software, etc. I would just like some guidance on what to purchase. I am thinking of the 12″ model and need some help picking out nozzles, extruders, etc. Oh… and of course filament. Is there someone there that I can talk to on the phone so I can explain what my situation is. I like the prices that I see on the website so I just want to get what will work the best for a beginner. I don’t have a hard limit on what I would spend on the entire unit, but keeping it around 1000.00 would be good.

Thanks in advance.

Joe

I literally got this response back from a guy named “Colin” 5 minutes later:

Hi Joe,

I don’t have a phone, but can answer any questions you have via email or on google hangouts.

As a general rule of thumb I prefer the 1.75mm e3d hot end and the standard Gregs accessible extruder, that gives you the widest variety of print materials, Great print quality and reliability.  For the electronics they perform the same and unless you plan on hacking your printer in the future you won’t notice any difference between the two other then the rumba supports the graphical lcd which does look cool.

Let me know

Colin

MakerFarm.com


Um… Yes! That was really great… I bought the 12″ 3D printer kit last night… Then every color of filament they had in a 1.75mm diameter today and everything I would need to start printing out stuff. I can’t wait to start this project with my girls.

Here is the next post, I have to build a computer to run this printer, so me and the girls resurrect a broken one from my basement.

Project RAIN DROP – Post 2